Adjustment Guide
Learn how to add ledger adjustments in CA Cloud Desk—go to Billing → Adjustment, enter branch, client, amount, transaction type, and save. The Opening Balance is updated and visible in View Opening Balance. Use the Video Tutorial link in the left sidebar to jump to the video, or download the PDF guide below.
Overview
The Adjustment module lets you add ledger adjustments for discounts, corrections, or waivers. You select Branch and Client, enter the Amount and Transaction Type (Cr/Dr), add an optional Remark, and save. A confirmation message appears and the Opening Balance is updated in the View Opening Balance list.
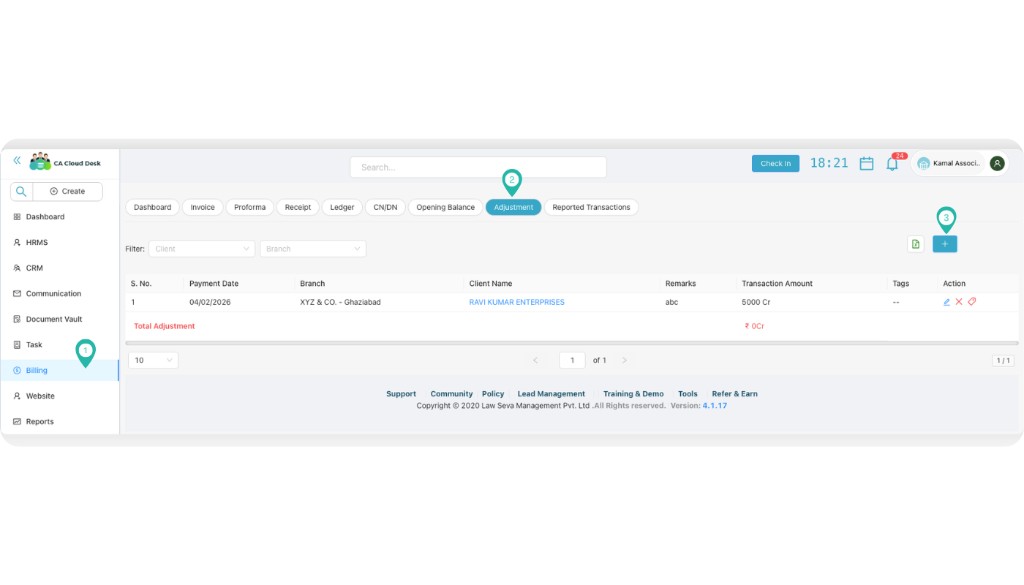
1 Open Adjustment Module
Go to Billing → Adjustment and click on the ➕ (Plus) icon to add a new ledger adjustment.
2 Enter Adjustment Details
Fill in the required fields on the Add Ledger Adjustment form:
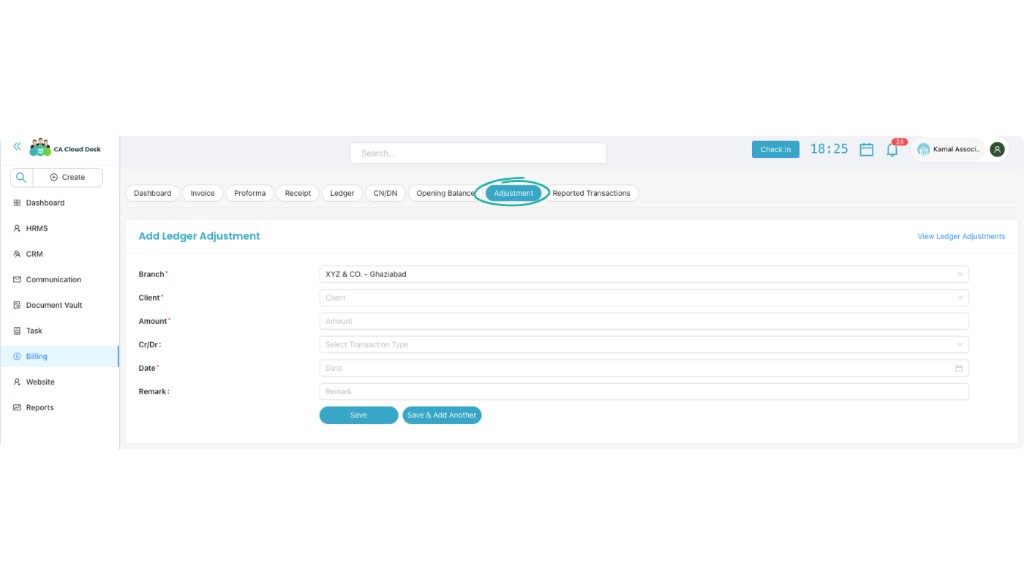
Branch *
- Select the branch for this adjustment.
Client *
- Select the client for whom the adjustment is being made.
Amount *
- Enter the adjustment amount.
Transaction Type (Cr / Dr)
- Select Credit (Cr) or Debit (Dr) for the transaction type.
Date *
- Select the payment or adjustment date.
Remark (optional)
- Add a note for reference, e.g. reason for the adjustment.
Use Save to record the adjustment, or Save & Add Another to add more adjustments. You can also use the View Ledger Adjustments link to return to the list.
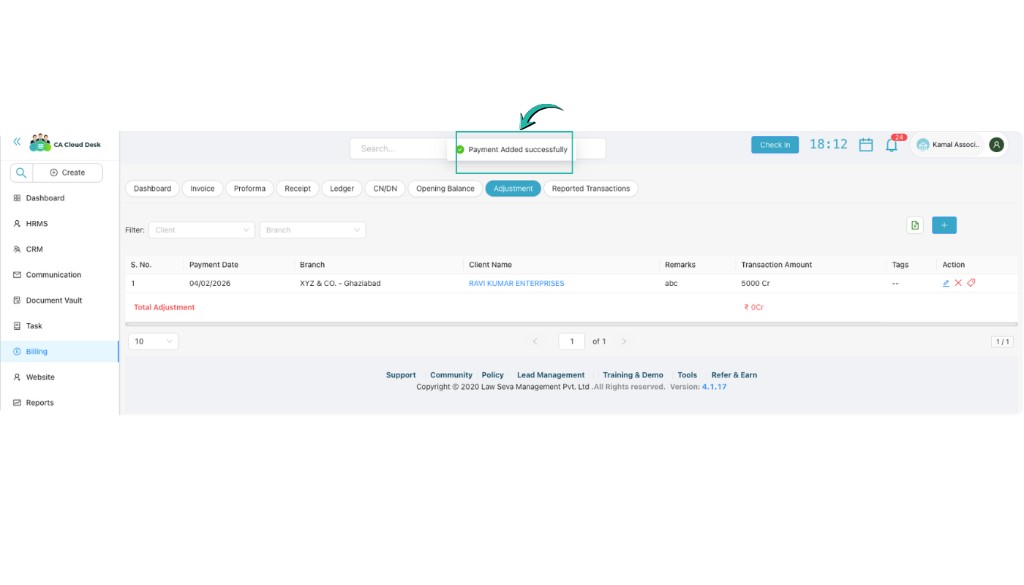
3 Save the Adjustment
Click Save to record the adjustment. A confirmation message will appear: “Payment Added Successfully”, indicating the process is complete.
4 View Adjustment Entry
Once saved, the confirmation message “Payment Added Successfully” is displayed. The Opening Balance is updated and visible in the View Opening Balance list. You can filter adjustments by Client and Branch, and edit or delete entries using the action icons in the table.
Video Tutorial
Watch the video below for a step-by-step walkthrough of adding a ledger adjustment in CA Cloud Desk.
src (e.g. from YouTube or Vimeo).Download PDF guide for offline reference.