CN/DN (Credit Note / Debit Note)
Create Credit Notes and Debit Notes in CA Cloud Desk from the Billing module. Follow the Video tutorial section below with step-by-step screenshots, or download the PDF guide for offline reference.
Overview
CN/DN lets you issue Credit Notes and Debit Notes for returns, price changes, or corrections. Open Billing → CN/DN, fill in the basic details (branch, client, date, note type, note number), save, and then view, share via Email or WhatsApp, or download the note as PDF.
1 Open BILLING Module
From the CA CloudDesk left navigation menu, go to BILLING and select CN/DN to start the process.
Click on Billing, then CN/DN, and use Add Credit Notes (+) to create a new Credit Note or Debit Note.
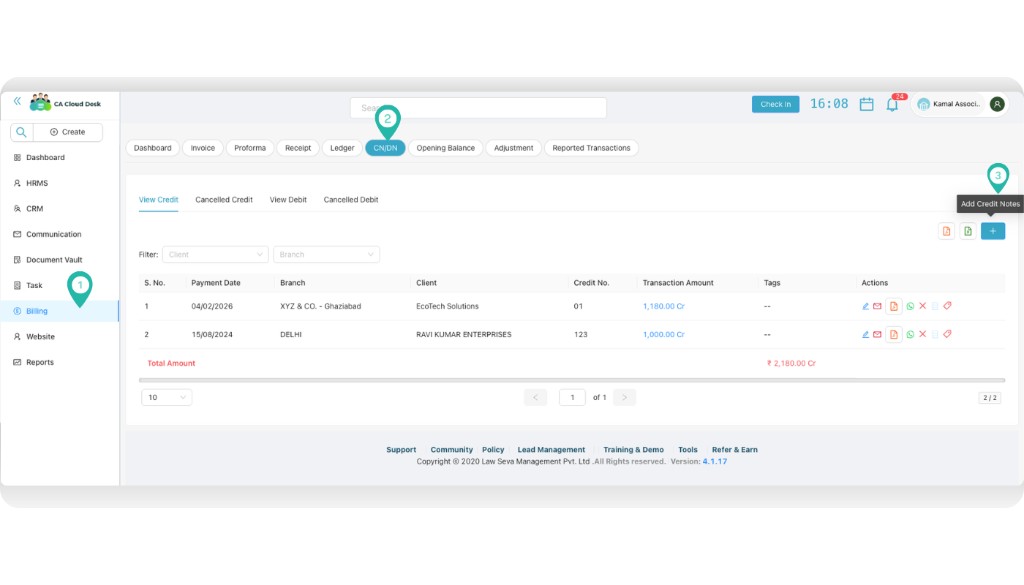
Left: Billing selected, CN/DN tab. Right: Add Credit Notes (+) button.
2 Select Basic Details
Fill in the form with the following details:
- Select the Branch
- Choose the Client (or add a new client if required)
- Select the Date
- Choose the Team (optional)
- Select the Note Type: Credit Note or Debit Note
- Enter the Note Number
Review all details and click Save to generate the CN/DN.
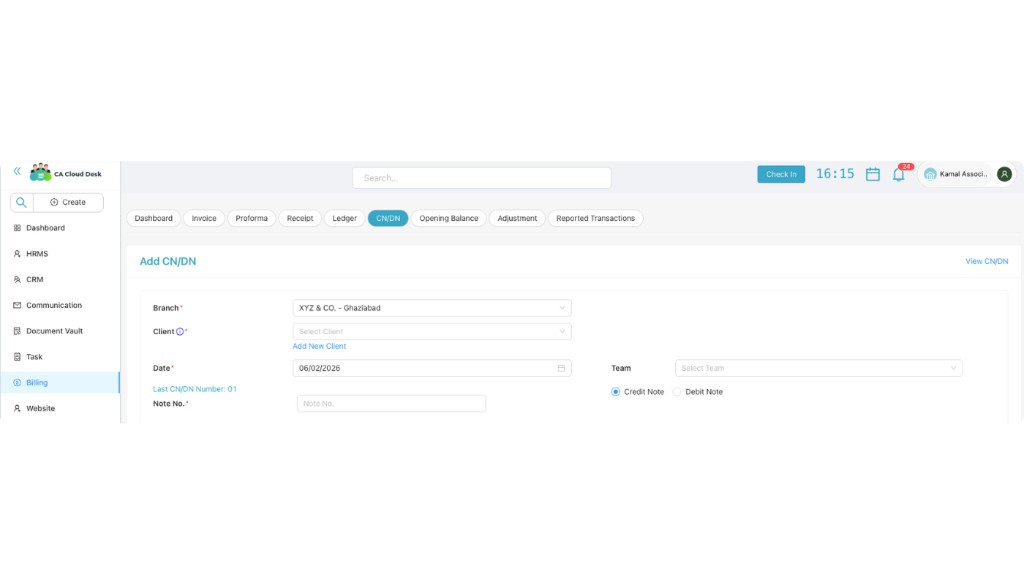
Add CN/DN form: Branch, Client, Date, Note No., Team (optional), Note Type (Credit/Debit).
3 Confirmation & Actions
After saving, the process is completed and a confirmation pop-up appears: “Custom Invoice created successfully.”
You can then:
- View the CN/DN
- Share it via Email or WhatsApp
- Download it in PDF format for your records
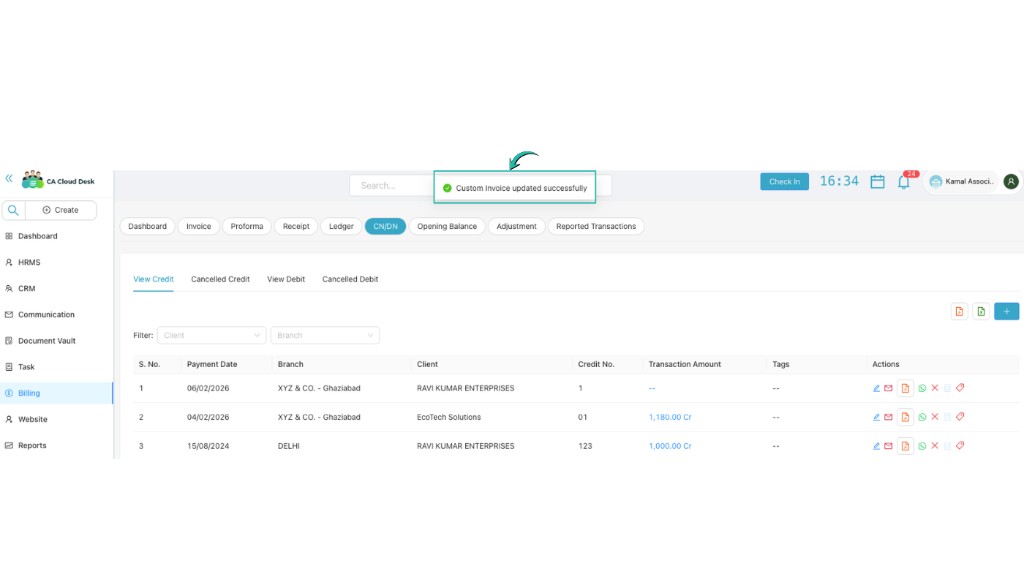
Confirmation message “Custom Invoice updated successfully” and CN/DN list with view, share, and download actions.
Video tutorial
The screenshots above walk you through opening Billing → CN/DN, filling the Add CN/DN form, and using the confirmation and list actions. Use the View PDF Guide button in the left sidebar to open or download the PDF for offline reference.