Proforma Invoice Guide
Learn how to create, manage, and convert proforma invoices for your practice. Streamline your billing workflow with auto-calculating fields and branch-wise series.
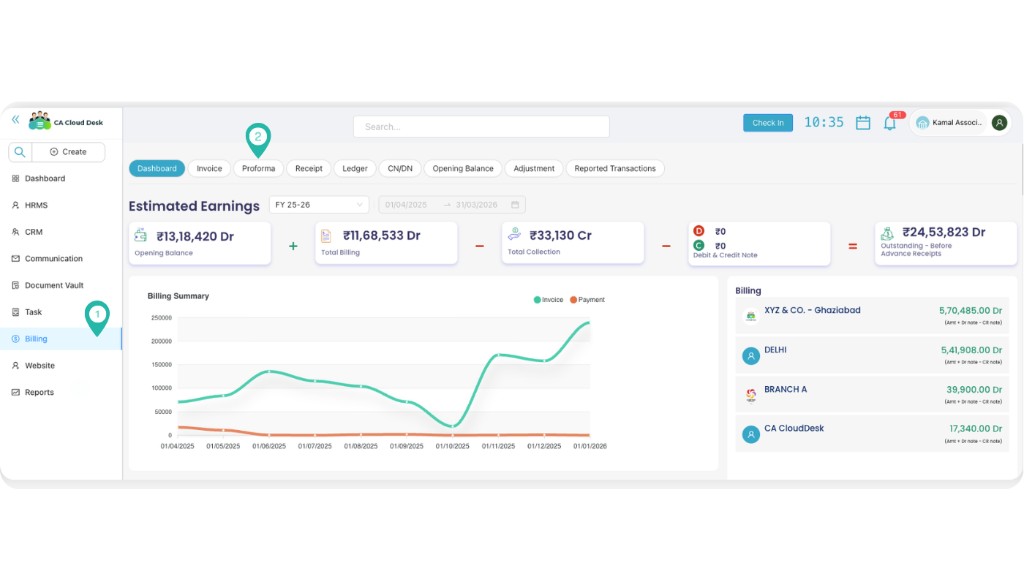
Adding a New Proforma
Start by navigating to the Billing Module and selecting 'Add Proforma'. Fill in the primary details to define the context of the invoice.
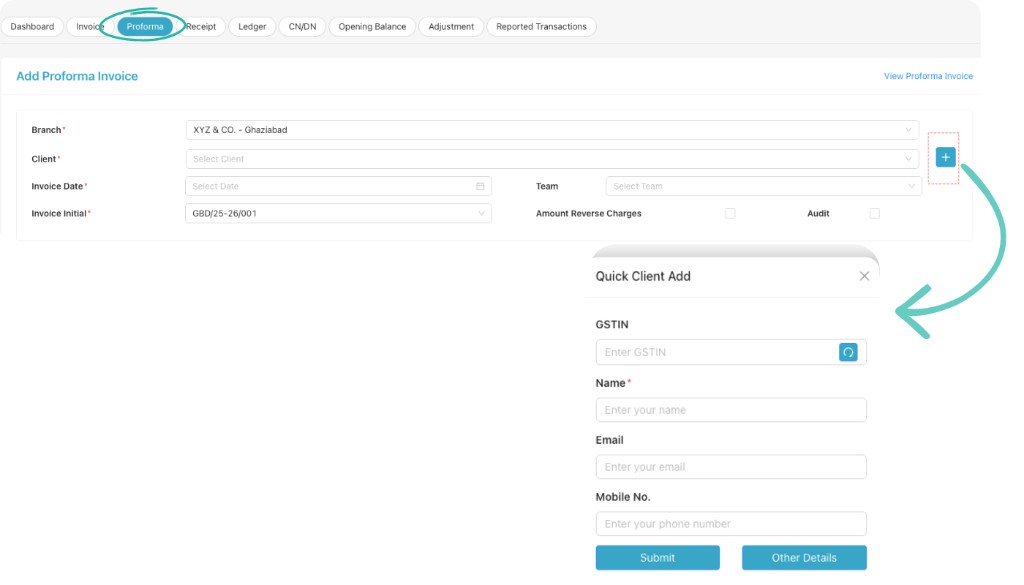
Primary Details
- Branch: Select your branch (defaults to your assigned branch).
- Client: Select client from the searchable dropdown menu.
- Invoice Date: Set the date of issuance.
- Team: Optional selection to assign the invoice to a specific internal team.
Billing Configuration
- Invoice Initial: Select your pre-defined billing series.
- Reverse Charges: Toggle 'Yes' or 'No' for amount reverse charges.
- Audit Mode: Mark if this invoice is for audit services (defaults to unchecked).
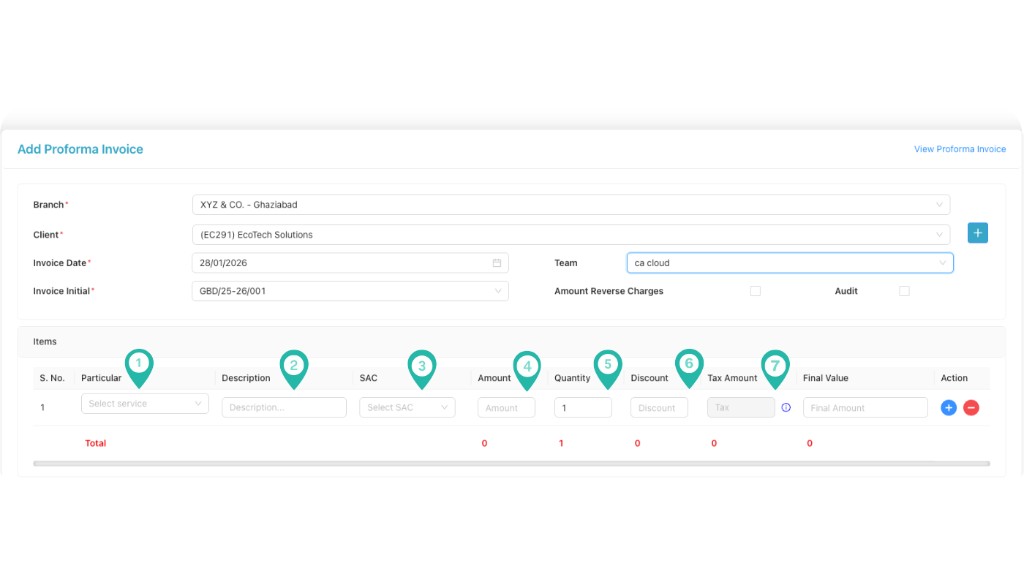
Value Based Details (Line Items)
Add specific services and costs. The system auto-calculates taxes based on your SAC selections.
| Column | Behavior & Logic |
|---|---|
| S. No. | Automatically incremented for each row. |
| Particular | Dropdown selection of services. Select 'Others' for manual entry. |
| Description | Auto-fetches short description from Setup, or enter manually. |
| SAC | Select SAC code. Can be auto-fetched if mapped in Setup. |
| Amount & Qty | Enter numeric values. Final value = (Amount × Quantity) - Discount. |
| Tax Amount | Calculated automatically if SAC is selected. Leave SAC empty for no tax. |
| Rows | Use + icon to add a new row or - icon to remove. |
Terms & Remarks
Pro-Tip: Automation
Configure your default Terms and Public Remarks in the Setup module to have them pre-filled for every new invoice.
- Terms and Conditions: Professional caveats and payment terms.
- Public Remarks: Notes visible to the client on the invoice PDF.
Bulk Import Utility
Save time by importing multiple proforma invoices at once using our Excel-based import utility.
Download Template
When downloading the template, you can select the Number of Items per proforma (Default is 1). Selecting more will add extra item columns (Item2, Item3, etc.) to your Excel sheet.
Template Field Mapping:
| Item Details (Per Row) | Description & Behavioral Logic |
|---|---|
| Item (1, 2...) | Select service item from your predefined list. |
| Particular (1, 2...) | If item not found, write manual entry here. Shows as particular in PDF. |
| Description (1, 2...) | Detailed service notes for the specific line item. |
| HSN/SAC (1, 2...) | Code for tax categorization. |
| Amount (1, 2...) | Base numeric value of the service. |
| Quantity (1, 2...) | Number of units. |
| Discount (1, 2...) | Deduction amount if applicable. |
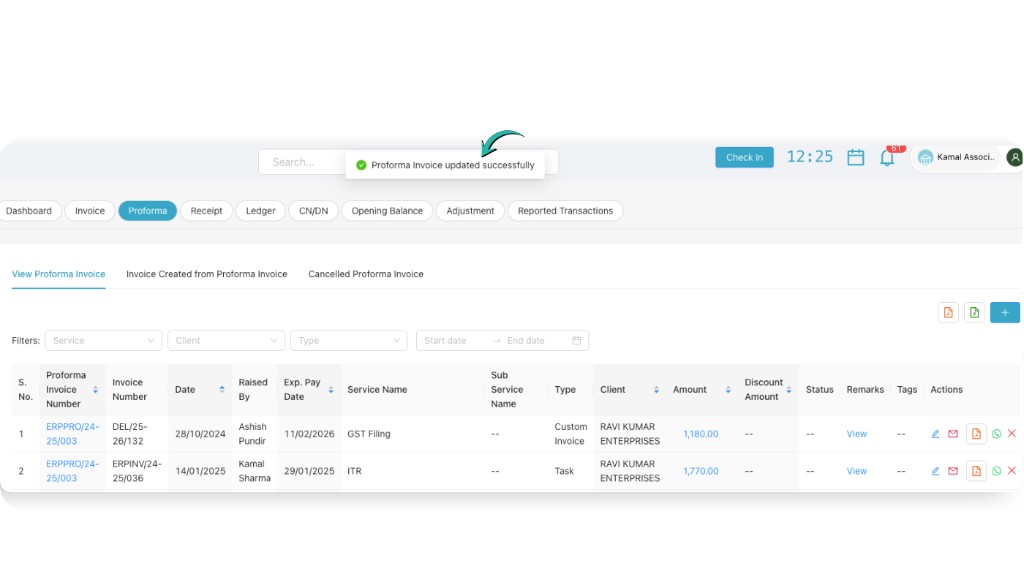
Viewing Proforma List
The Proforma dashboard provides a comprehensive overview of all issued documents and their statuses.
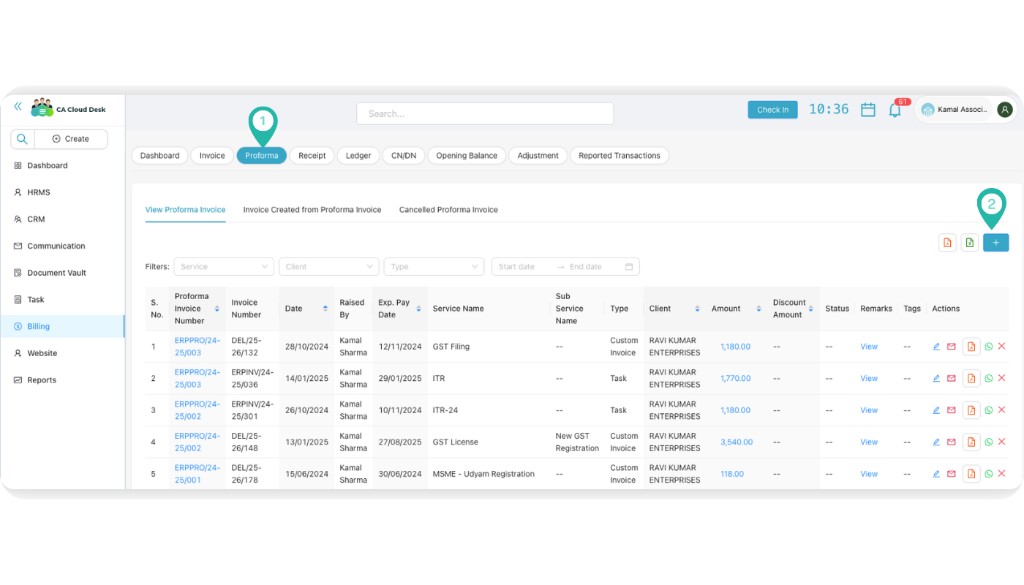
| Field | Description |
|---|---|
| Proforma No. | Unique ID for the proforma document. |
| Invoice Number | Linked Tax Invoice number (if converted). |
| Raised By | Employee who created the document. |
| Exp. Pay Date | Expected payment date for tracking. |
| Service/Sub Service | Service classification for reporting. |
| Status | Current state (Draft, Sent, Cancelled, Converted). |
| Tags | Custom tags for internal categorization. |
Actions & Tools
Once a proforma is added, you can perform the following operations from the Actions column:
Communication
Management
Video Tutorial
Watch this video to understand the complete proforma management cycle, from manual entry to bulk imports.