Receipt Guide
Learn how to create receipts in CA Cloud Desk—record payments from clients, use advance amounts, and issue official payment receipts. Use the View PDF button in the left sidebar to open or download the full guide.
Overview
Receipts in CA Cloud Desk let you record payments received from clients against invoices. You can apply advance amounts, enter payment received, choose a payment mode, and generate official receipts. Follow the three steps below to create a receipt quickly.
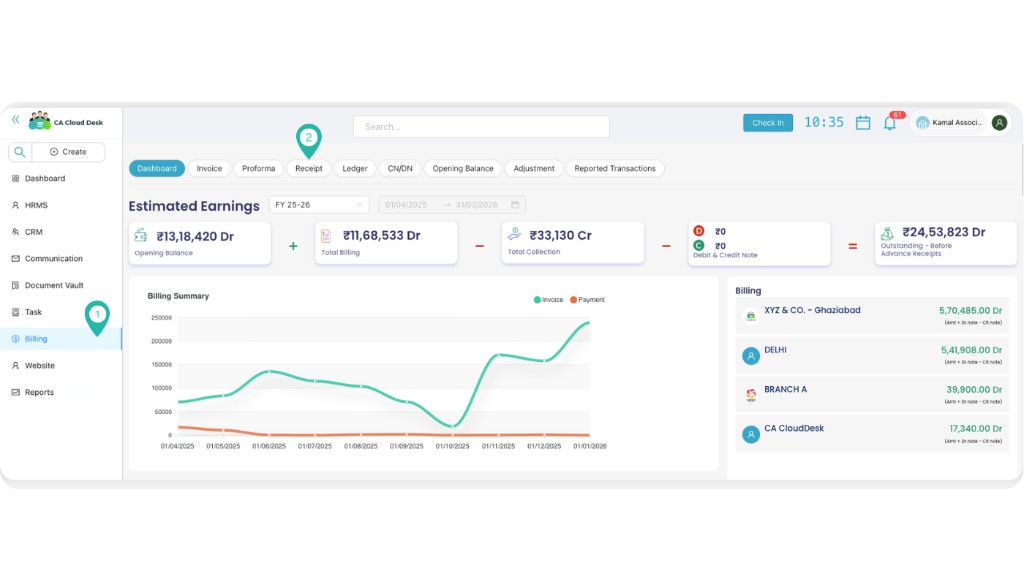
1 Go to Dashboard → Billing → Receipt
From the main Dashboard, select Billing in the left sidebar. Then click the Receipt tab in the top navigation to open the receipt list.
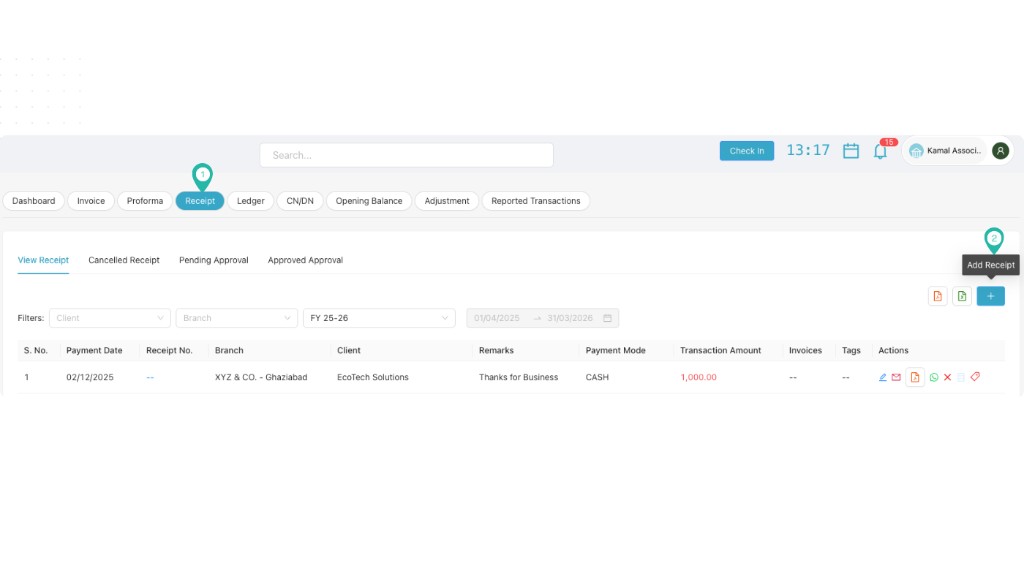
2 Click the + Icon to Create Receipt
On the Receipt screen, click the blue + (Add Receipt) button in the top-right area to open the receipt creation form.
3 Fill the Details
Complete the receipt form with the following details. Use the View Receipt link to preview or generate a PDF of the receipt.
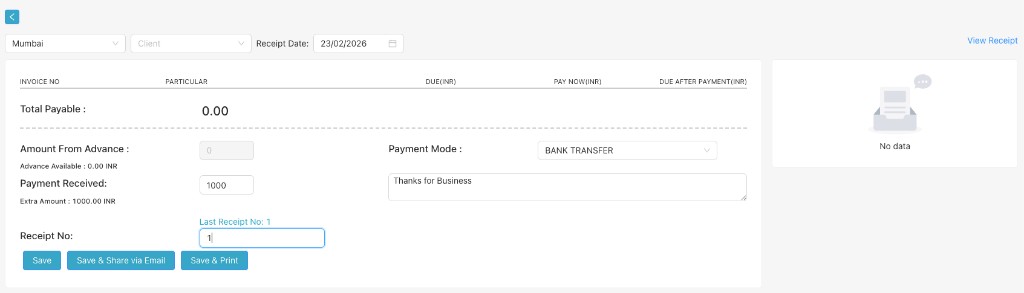
Amount From Advance
- Enter the amount to apply from the client's advance balance.
- Use this when the client has a pre-paid advance that you want to set off against this receipt.
- Leave as 0 if no advance is being used.
Advance Available
- Shows the client's current advance balance (read-only).
- This is the total advance amount available for the selected client.
- You can apply up to this amount in "Amount From Advance".
Payment Received
- Enter the actual payment amount received from the client.
- This is the cash, cheque, or bank transfer amount for this receipt.
- Required field—enter the exact amount received.
Payment Mode
- Select how the client paid: CASH, BANK TRANSFER, CHEQUE, UPI, etc.
- Choose the option that matches the actual payment method.
- This appears on the receipt for your records.
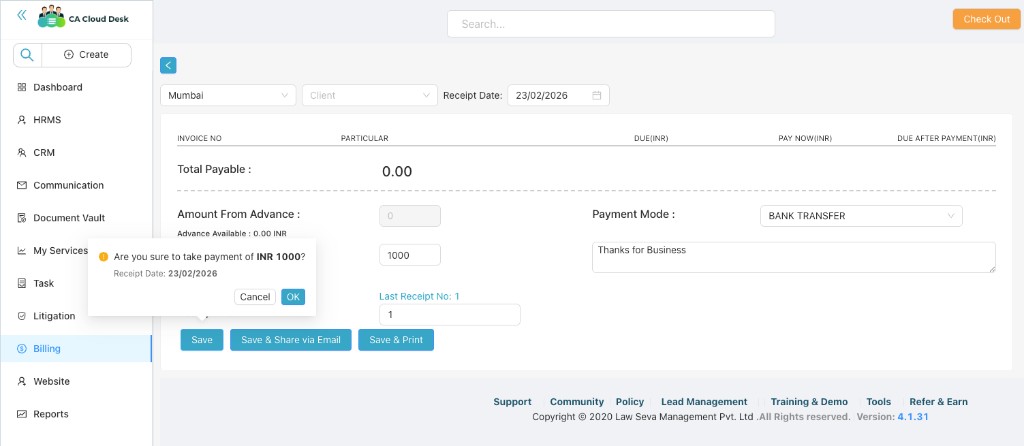
After filling the details, click Save, Save & Share via Email, or Save & Print. A confirmation popup will ask you to confirm the payment amount before saving.
Video Tutorial
Watch this video for a step-by-step walkthrough of creating receipts in CA Cloud Desk—go to Dashboard → Billing → Receipt, click the + icon to add a receipt, then fill in Amount From Advance, Payment Received, and Payment Mode. You can also use the View PDF button in the left sidebar to open or download the full guide.
Video tutorial coming soon