Email (Marketing)
Use the Email option under Communication to configure SMTP, create reusable templates, and send one-to-one or bulk emails to your clients and client groups.
Path
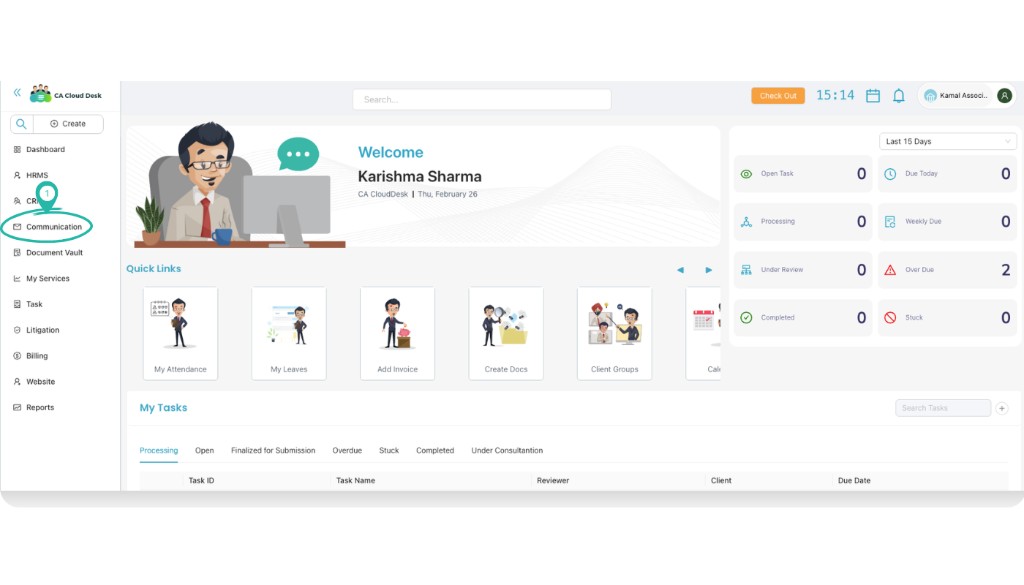
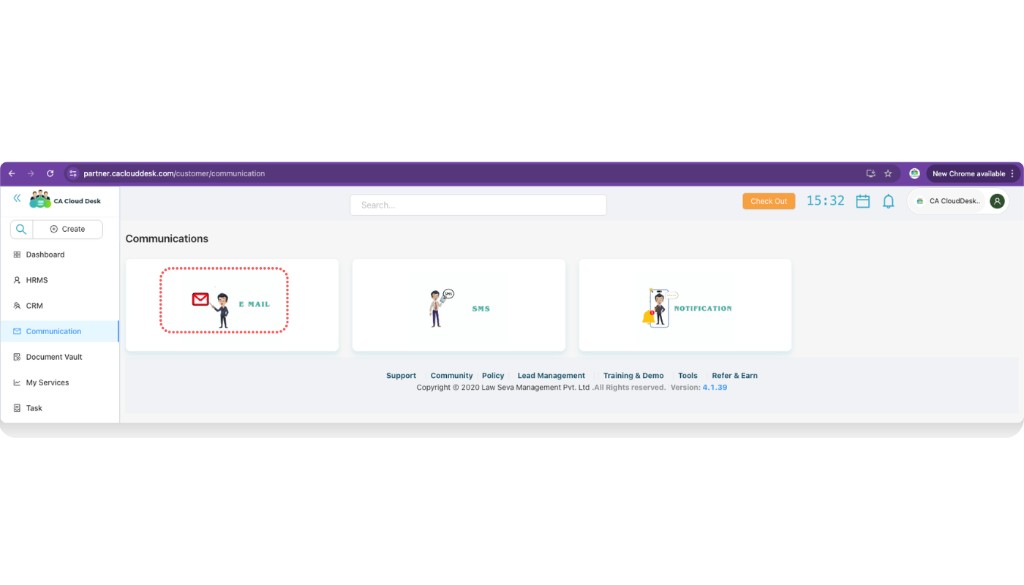
Log in to your CA CloudDesk Partner Desk account. From the left navigation menu select Communication, then click the Email tile.
Email screen overview
Inside the Email screen three tabs are available at the top: Send Email, Send Email By Groups, and View Sent Emails. Start with SMTP Configuration and Email Templates so that sending becomes quick and consistent.
Step 1 — SMTP Configuration (mandatory)
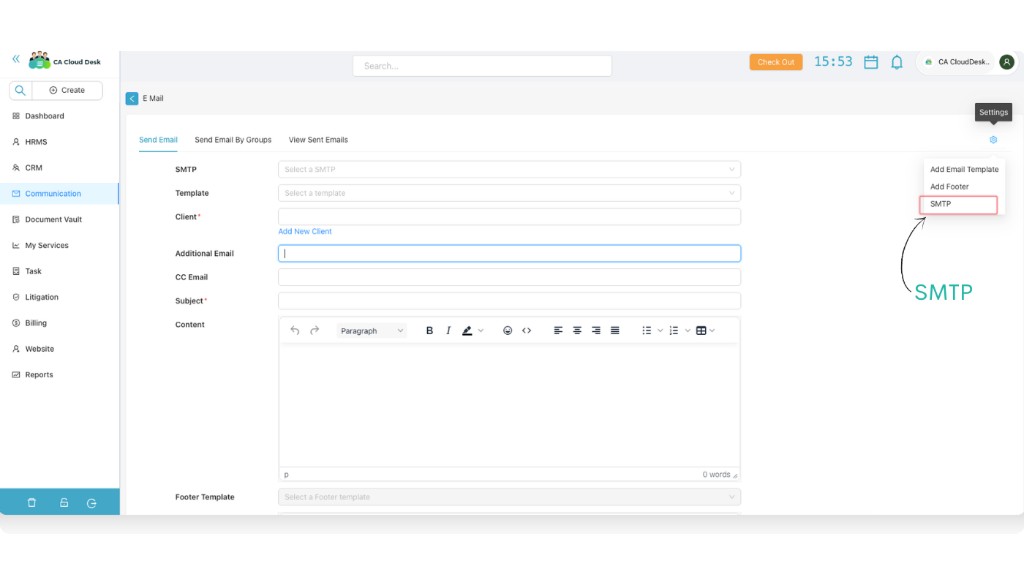
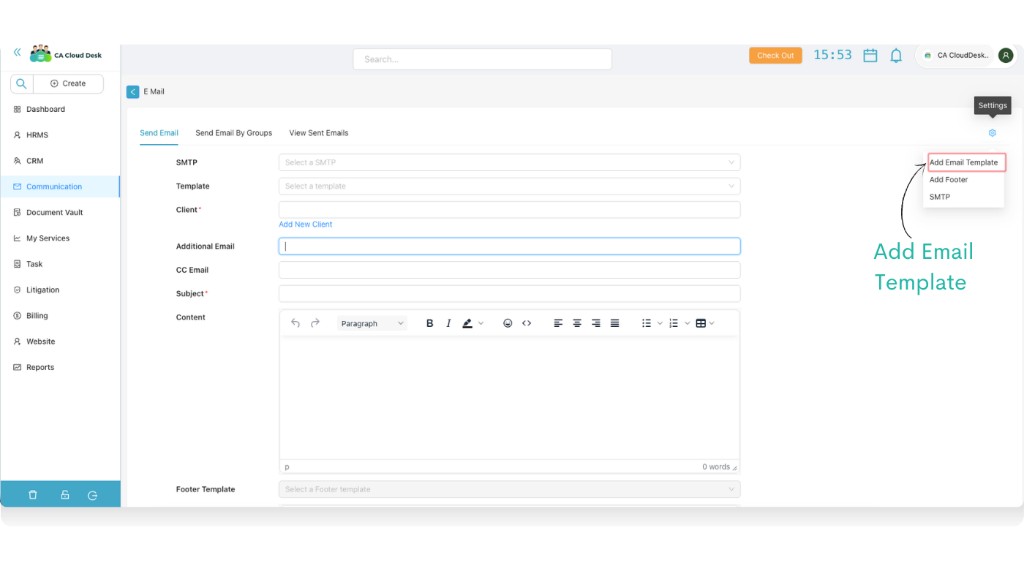
Open SMTP configuration from Settings
On the Send Email tab, click the Settings icon on the top-right corner and choose SMTP. This opens the SMTP Configuration screen.
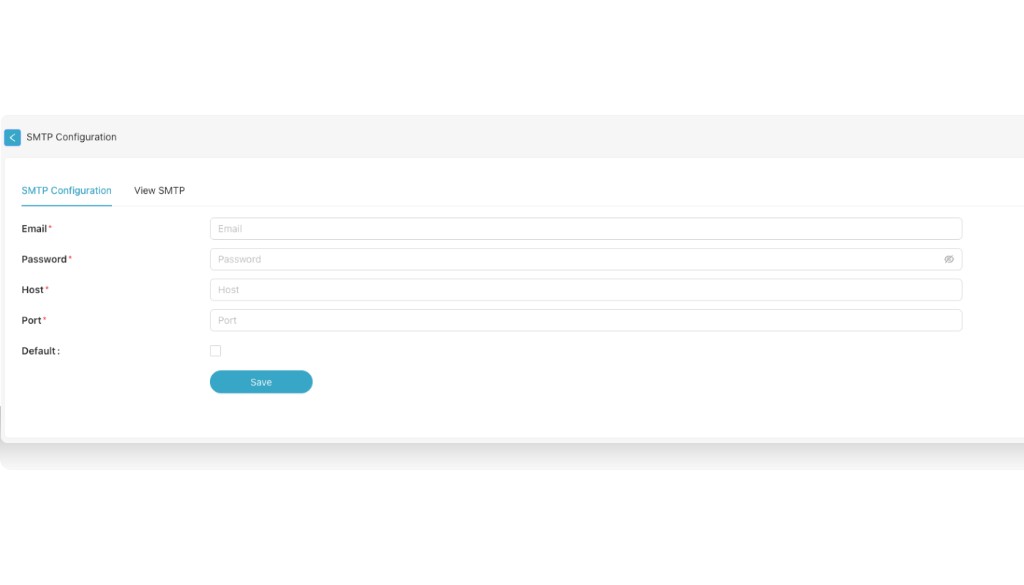
Fill in SMTP details
In SMTP Configuration, enter the email server details provided by your email service. These settings are mandatory to send emails from CA CloudDesk.
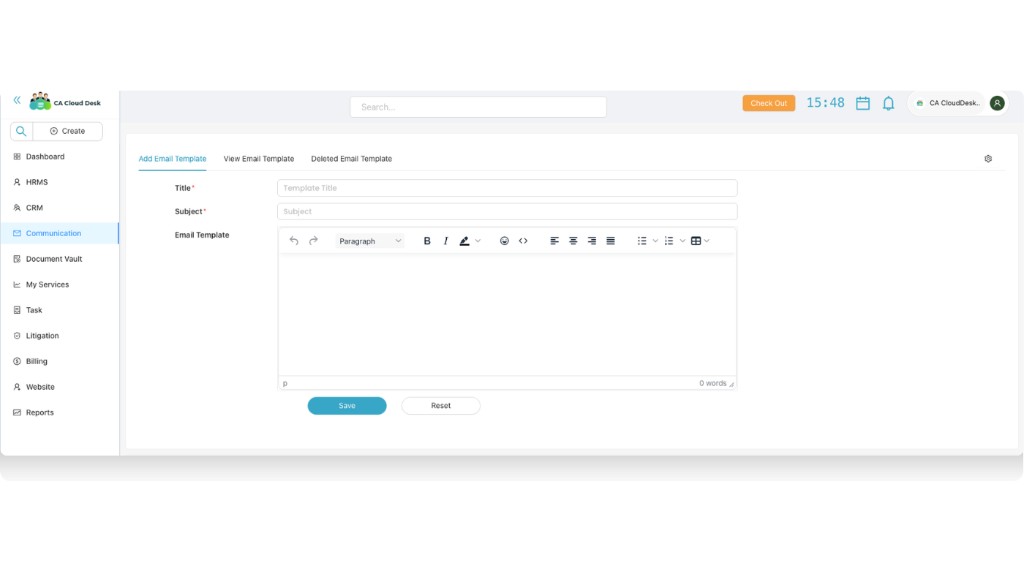
Step 2 — Add Email Template
Open Add Email Template
From the Send Email screen, click the Settings icon and choose Add Email Template.
Create and save your template
On the Add Email Template screen you will see three tabs: Add Email Template, View Email Template, and Deleted Email Template. To create a new template, stay on the Add Email Template tab and fill the required fields.
Step 3 — Send Email
Fill email details
On the Send Email tab, choose the SMTP and template, select the client, and enter recipient details.
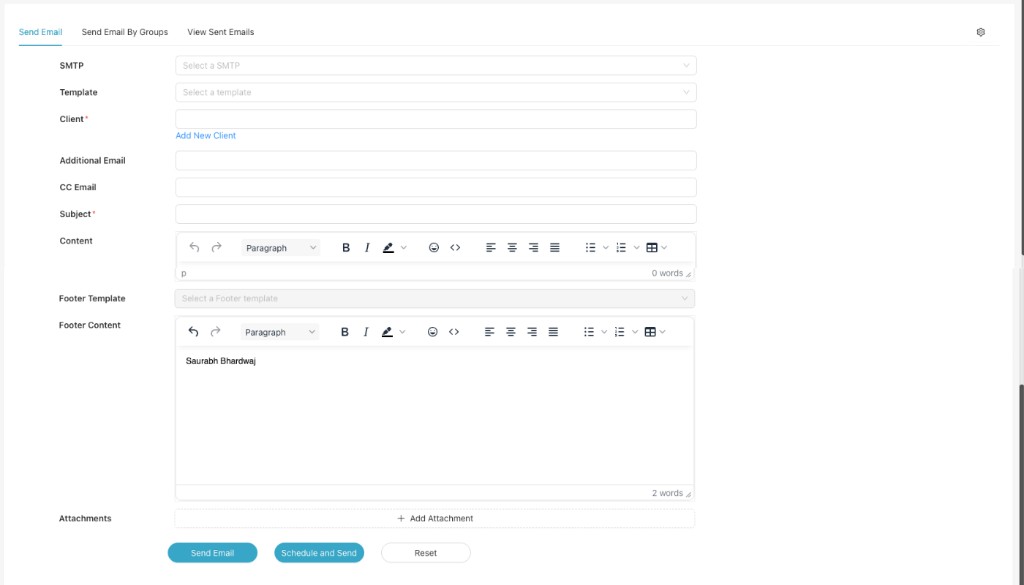
Send or schedule the email
After filling all required fields, choose one of the actions at the bottom: Send Email to send immediately, or Schedule and Send to deliver it later.
Step 4 — Send Email By Groups
If you have already created Client Groups in the system, use the Send Email By Groups tab to send the same email to all clients in a group at once.
- Open the Send Email By Groups tab.
- Select the required group and SMTP / template, then review subject and content.
- Click Send Email or Schedule and Send to send to the whole group.
Step 5 — View Sent Emails
Use the View Sent Emails tab to track all emails sent from CA CloudDesk. You can review past communication, check status, and confirm which template or SMTP was used.