SMS (Marketing → Communication)
Use the Communication → SMS screen to send SMS and WhatsApp messages to clients using ready-made templates, and track all messages from the View Sent SMS tab.
Path
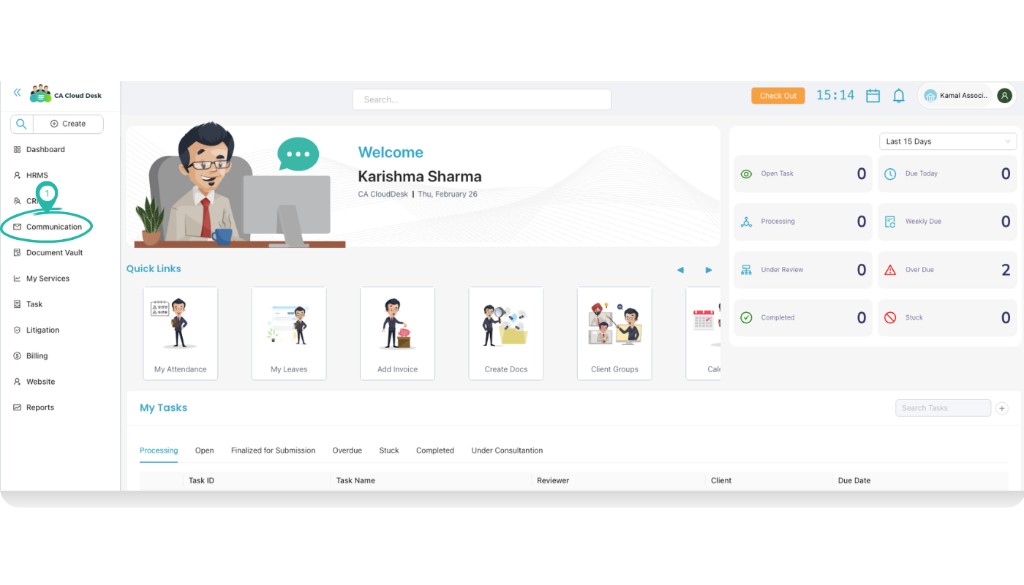
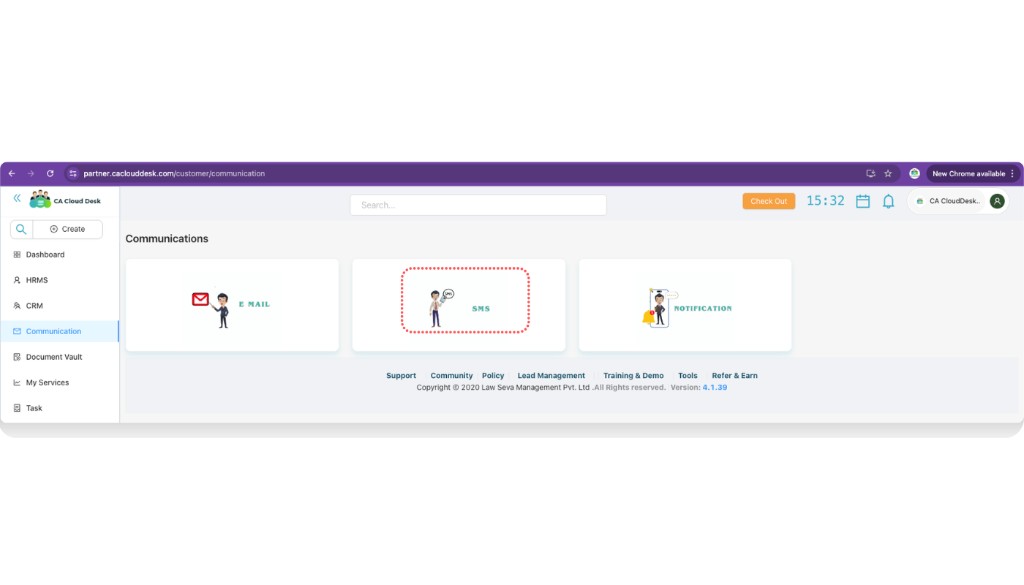
Log in to your CA CloudDesk Partner Desk account. From the left menu, click Communication, then choose the SMS tile.
SMS screen at a glance
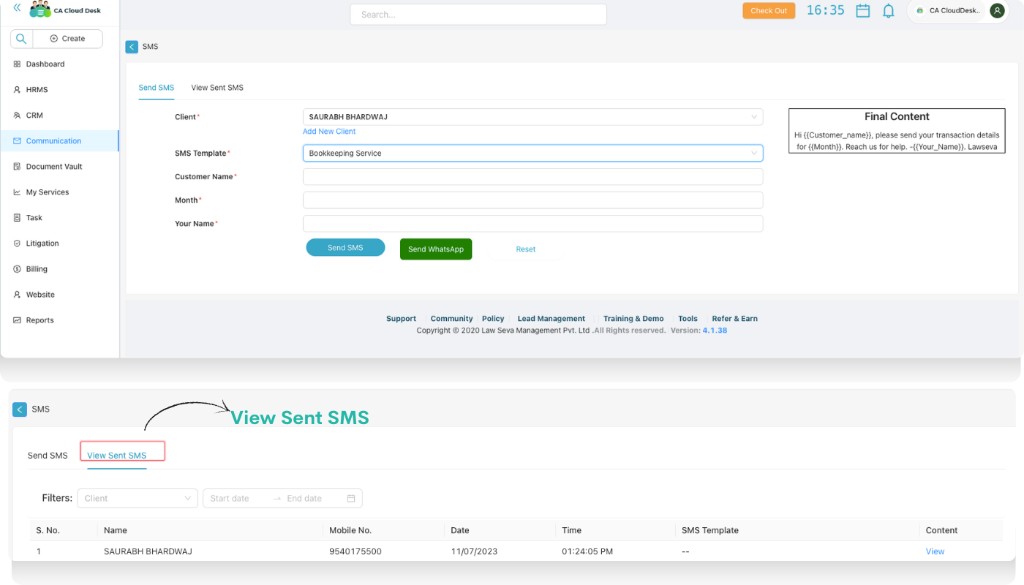
Inside the SMS screen you will see two tabs:
- Send SMS — fill client details, choose SMS template and send SMS or WhatsApp messages.
- View Sent SMS — list of all messages already sent, with filters for Client and Date.
Step 1 — Send SMS / WhatsApp
Open the Send SMS tab
In the SMS screen, make sure you are on the Send SMS tab. This is where you prepare and send a new message to your client.
Fill in client and message details
Complete all required fields before sending the SMS. Use SMS Template to automatically generate the final content shown on the right side.
Send via SMS or WhatsApp
After checking the final content, click Send SMS to send a normal text message or Send WhatsApp to send the same content via WhatsApp.
Step 2 — View Sent SMS
Switch to the View Sent SMS tab
Click the View Sent SMS tab to see all SMS that have already been sent from this screen.
Search with Client and Date filters
Use the filters at the top of the list to quickly locate a particular message.
- Client — narrow down the list to messages sent to a specific client.
- Start date / End date — filter messages within a date range.