Add Branches
Add and configure office branches from your profile: open Branch Data, use the Add Branch button, then complete the step-wise flow (Basic Details, Billing, Payment, Social Media, Support).
Path
Step-by-step instructions
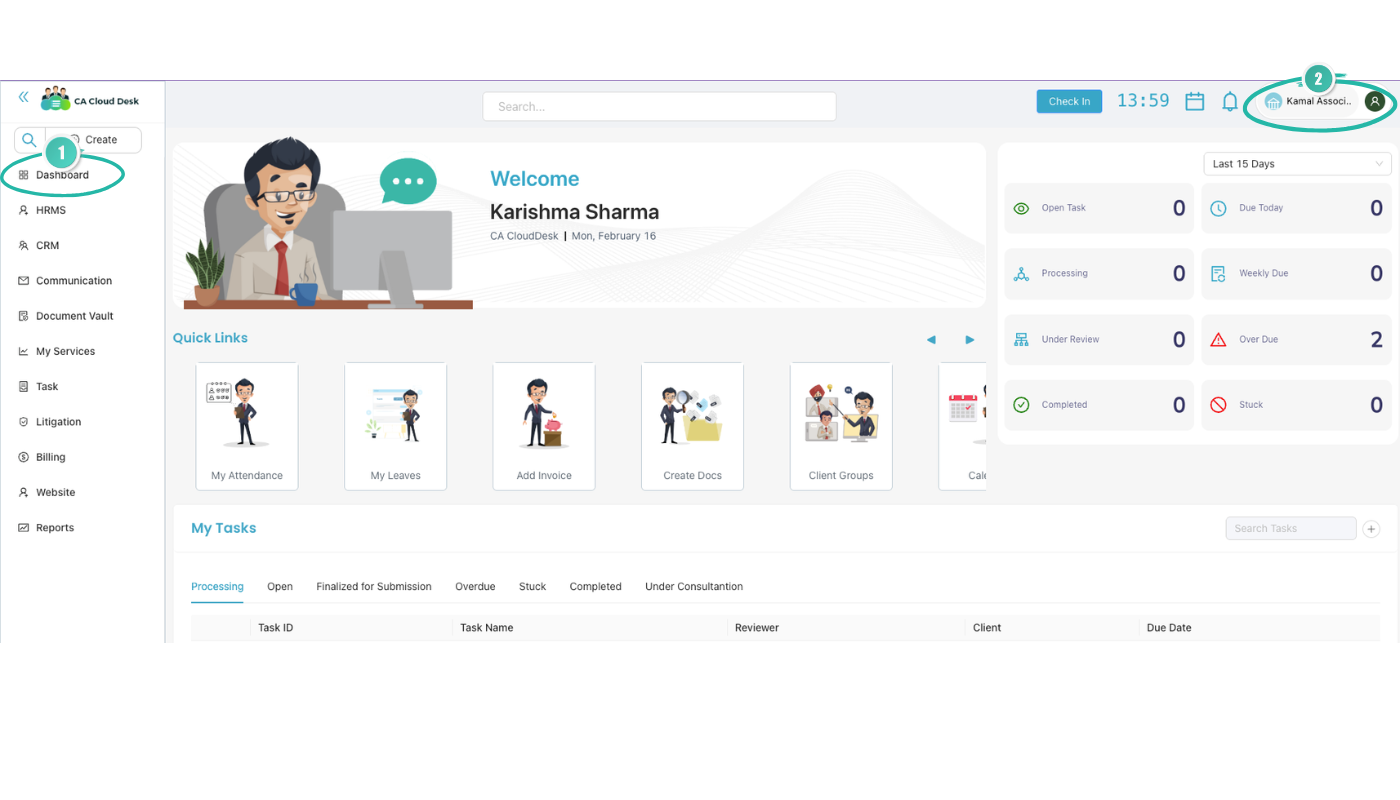
Go to Dashboard, then go to Profile
From the main Dashboard, click your profile icon (user avatar) in the top-right corner to open your profile area.
From My Profile, select Branch Data
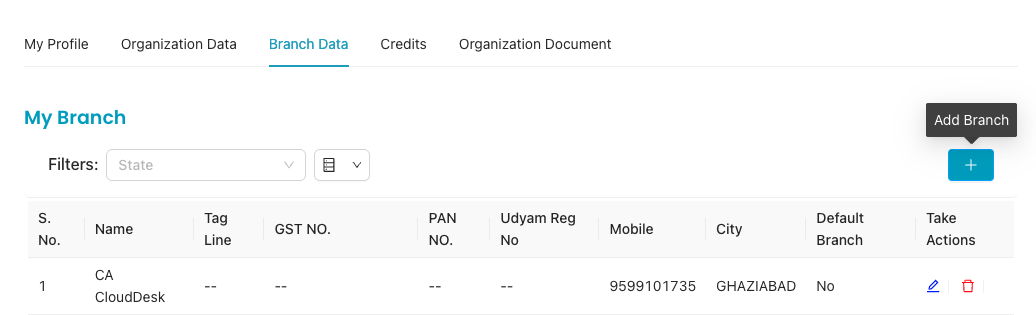
On the Profile page, use the secondary navigation tabs and select Branch Data (alongside My Profile, Organization Data, Credits, Organization Document).
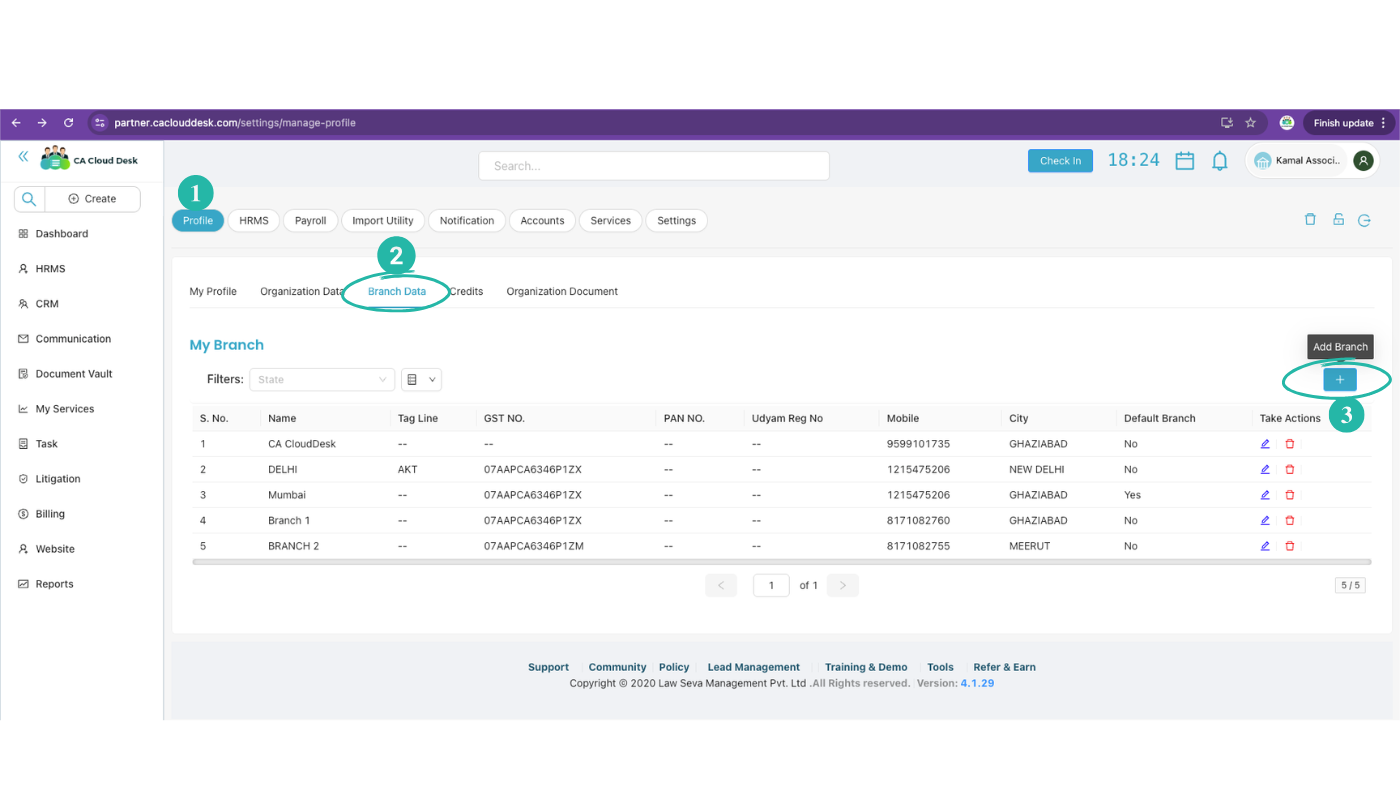
Click the plus icon to add a branch
On the Branch Data (My Branch) screen, click the blue plus (+) button (tooltip: “Add Branch”) to start adding a new branch.
Complete the step-wise Add Branch flow
The Add Branch process has five steps. Complete each in order: Basic Details → Billing → Payment → Social Media → Support. The first step is Basic Details.

Basic Details — fields
In the Basic Details step, fill in the following. Where applicable, choose Yes or No (e.g. for GST, Allow Outside Radius, Allow Face Recognition, Auto Timesheet Approval). Optionally check Make this branch as default branch, then click Save and Next to proceed to Billing.
Save and Next
After filling the Basic Details (and optionally setting default branch), click Save and Next to move to Billing. Then complete Payment, Social Media, and Support as required to finish adding the branch.
Video Tutorial
Watch this video for a step-by-step walkthrough of adding branches in CA Cloud Desk—Dashboard → Profile → Branch Data → Add Branch, and the Basic Details, Billing, Payment, Social Media, and Support steps. You can also use the View PDF button in the left sidebar to open or download the full guide.