
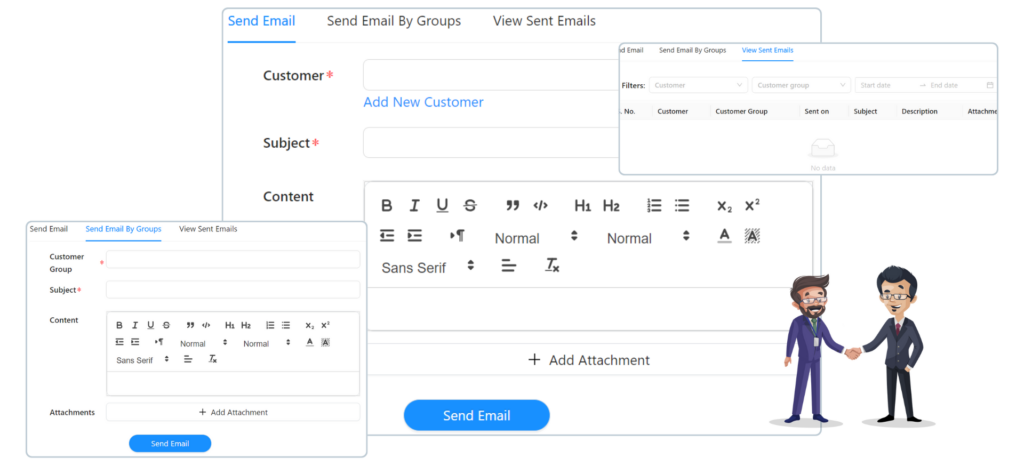
Emails
Client and Team communication is highly important. The communication module is thereby designed to establish communication between the team and customers. Our Communication module will keep all your customers and teammates on the same page. Using this module you can send email, WhatsApp messages, SMS, and notifications to your customers using one dashboard.
Send Emails individually to one or multiple customers
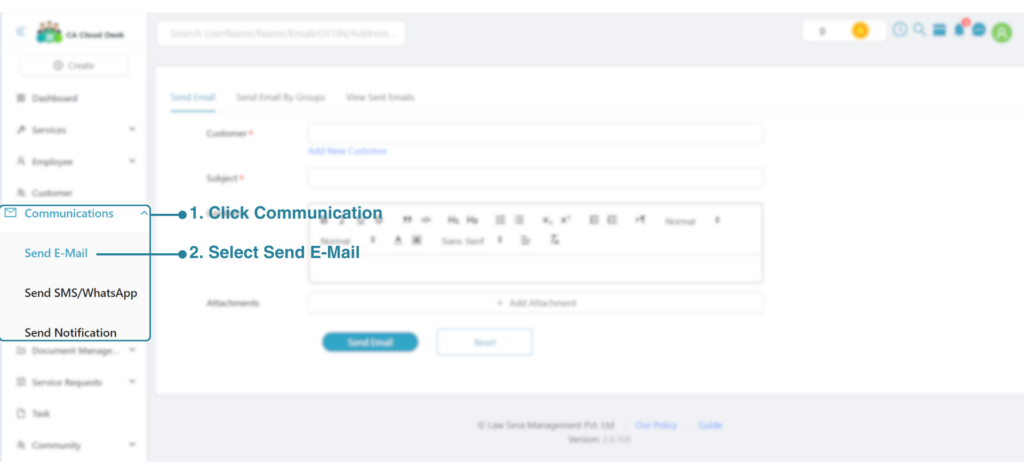
- Visit your partner Dashboard and select communication on the left panel.
- Select the Send E-mail option, and you will be redirected to the below screen.
This screen is designed to send emails to one or multiple recipients.
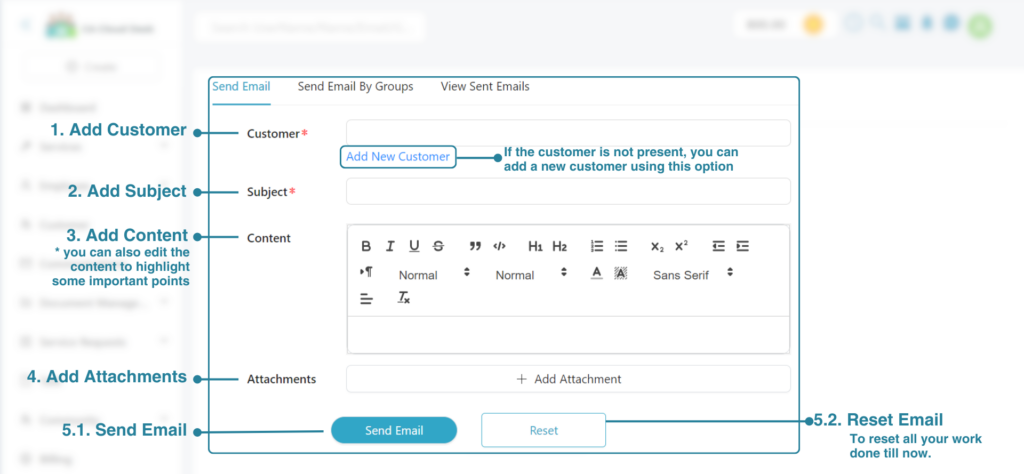
- Add Customer: Select the customers to whom you want to send the emails, if the customer is not present please add a new customer using Add New Customer Option
- Add Subject: Add the subject for your email, for example Requesting Sale Purchases for ITR filing.
- Add Content: This is the main body of your email.
Our software gives you all of the editing options so you can edit the content to highlight some important points and present the email in the best manner. - Add Attachment: You can attach one or more attachments, for example, a client document in the email
- Send Email: Click on send email or reset if you don’t want to send the email now.
Send Bulk Emails to entire Customer Group
- Visit your partner Dashboard and select communication on the left panel.
- Select the Send E-mail option, and you will be redirected to the below screen.
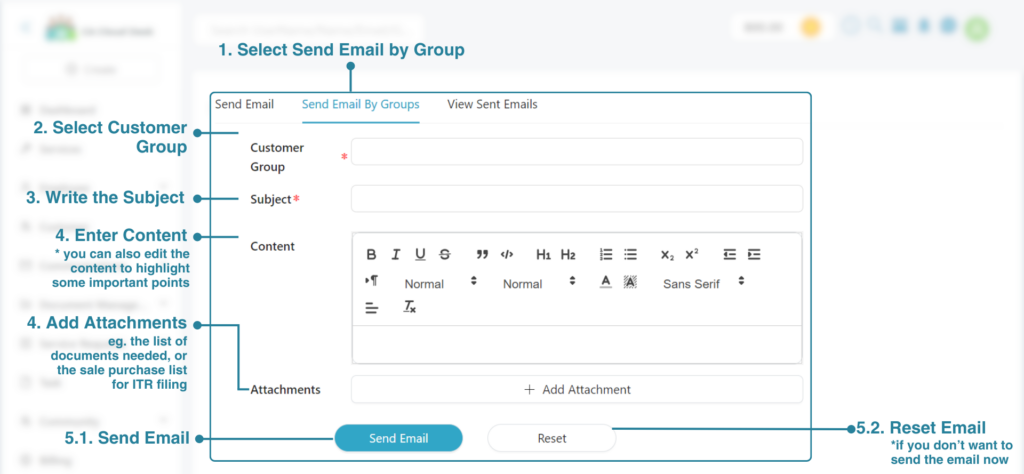
From this option, you can send Bulk Emails to the entire group with just a few clicks.
- Select Send Emails by Group option
- Select Customer Group: Select the customer group from the dropdown
- Add Subject: Add the subject for your email.
- Add Content: This is the main body of your email.
Our software gives you all of the editing options so you can edit the content to highlight some important points and present the email in the best manner. - Add Attachment: You can attach one or more attachments.
- Send Email: Click on send email or reset if you don’t want to send the email now.
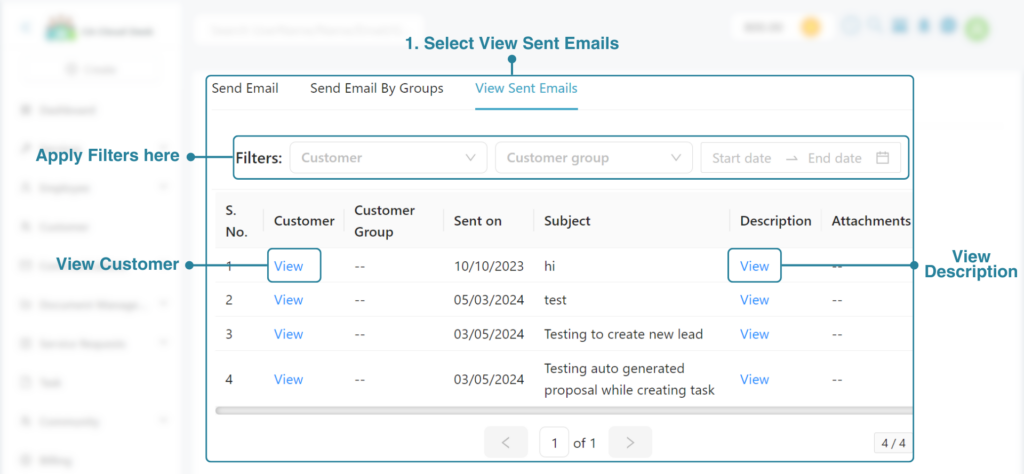
View Sent Emails
You can easily view all the sent emails from the View Sent Emails section on the right of Sent Emails by groups.
Related Topics
Paperless. Automated. Affordable. Solving legal needs with an advanced solution for document management, workflow automation and community collaboration.
Links
Contact Info
Law Seva Management Private Limited , Plot No 159 & 160, Balaji Enclave, Govindpuram, Ghaziabad, U P 201013

Law Seva Management Private Limited © 2024