Payroll – Transaction
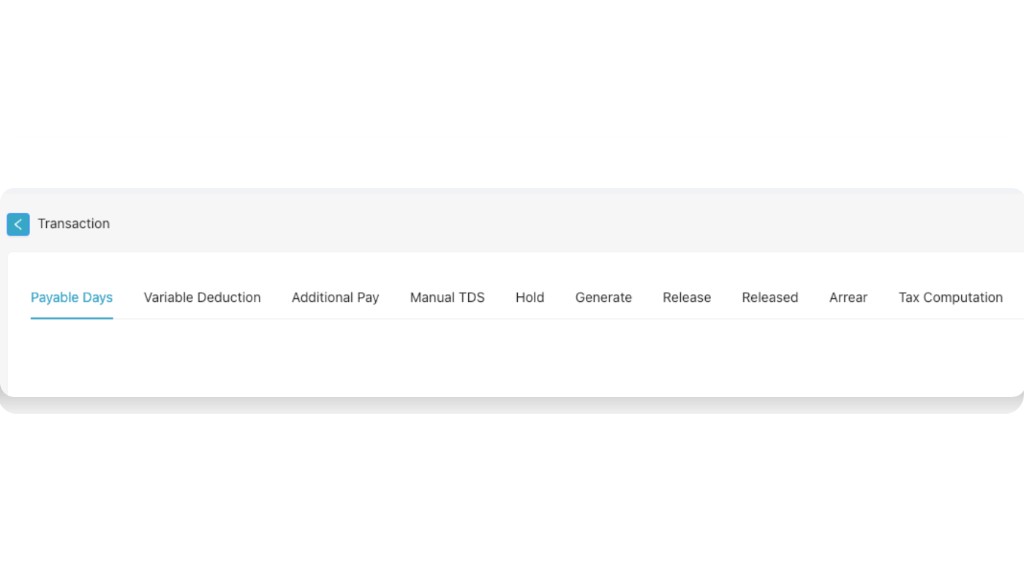
Use Payroll – Transaction to manage payroll transaction steps for employees. After opening Transaction in Payroll settings, you will see multiple tabs such as Payable Days, Variable Deduction, Additional Pay, Manual TDS, Hold, Generate, Release, Released, Arrear, and Tax Computation.
Path
Step-by-step instructions
Open PartnerDesk Dashboard and go to Settings
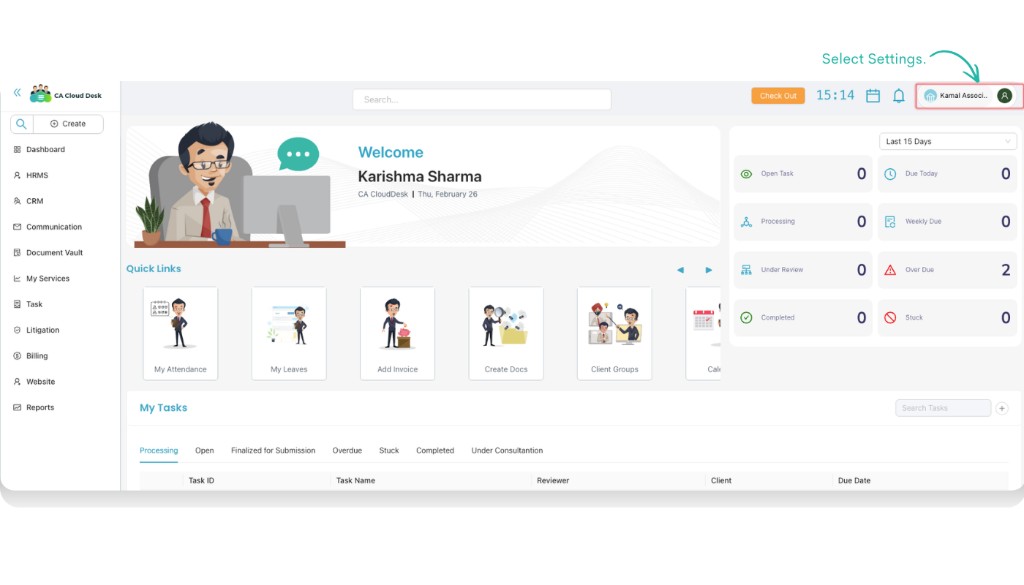
Log in to CA Cloud Desk PartnerDesk. On the Dashboard, use the top-right profile menu and select Settings.
Open Payroll and select Transaction
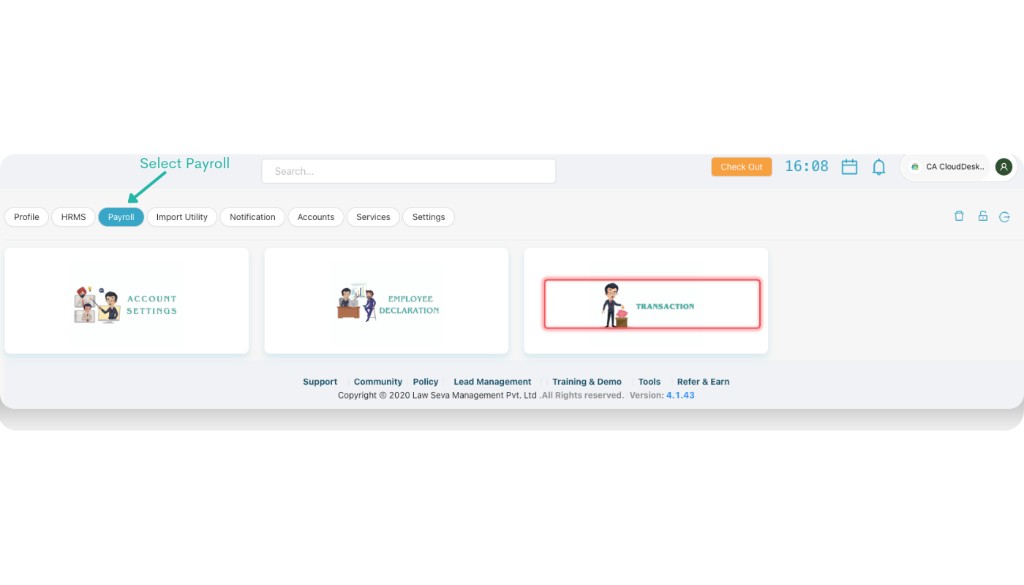
Inside Settings, click the Payroll tab and then open the Transaction card.
Review the Transaction tabs
After opening Transaction, the module shows tabs that represent different payroll transaction actions, starting with Payable Days.
Transaction tabs
1. Payable Days
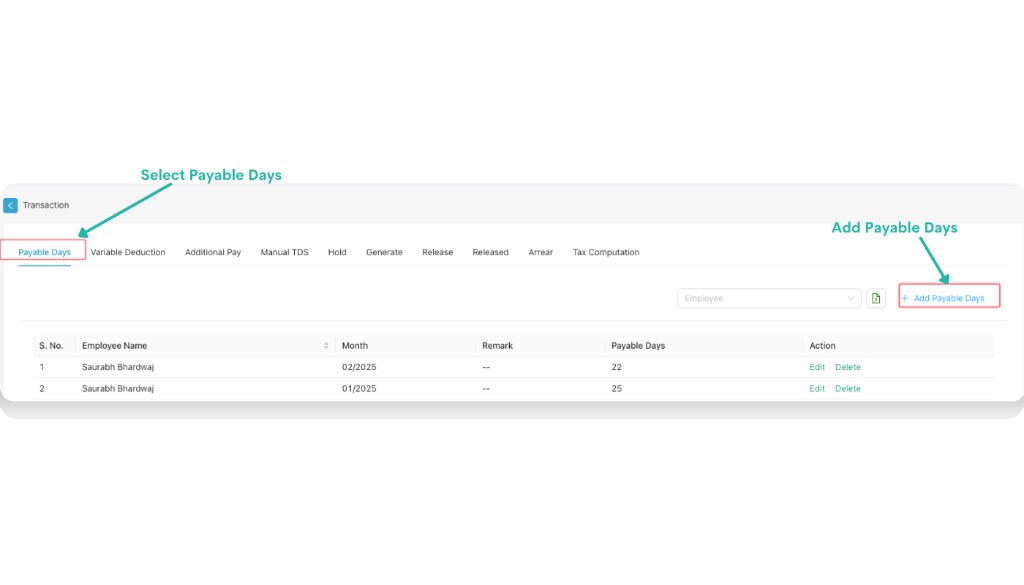
Start payroll processing from the Payable Days tab. Here you can add or update payable days for employees for a selected month.
Select Payable Days and click Add Payable Days
Open the Payable Days tab and click + Add Payable Days to create a new entry.
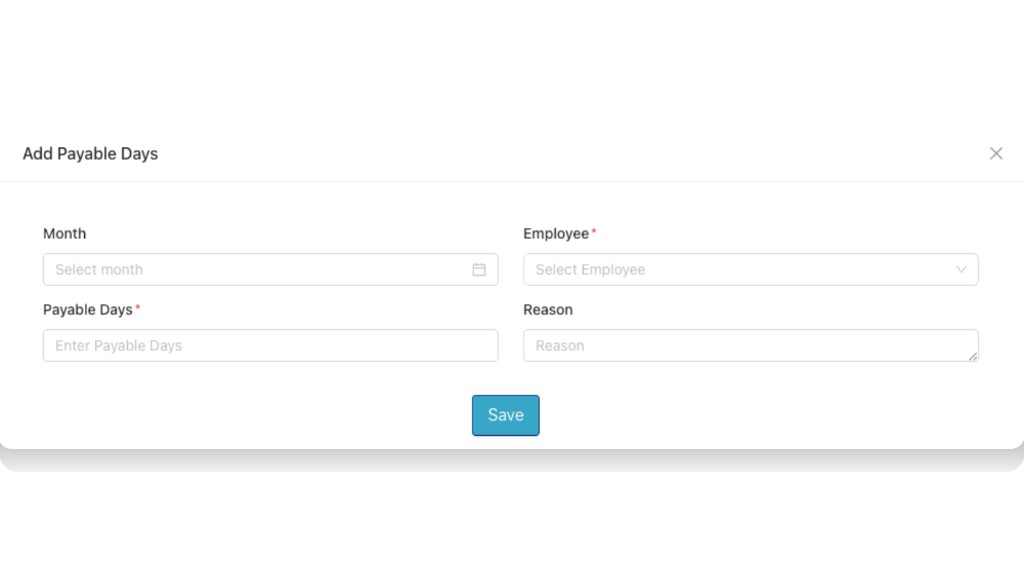
Fill the Add Payable Days form and save
In the Add Payable Days popup, fill all required details and then click Save.
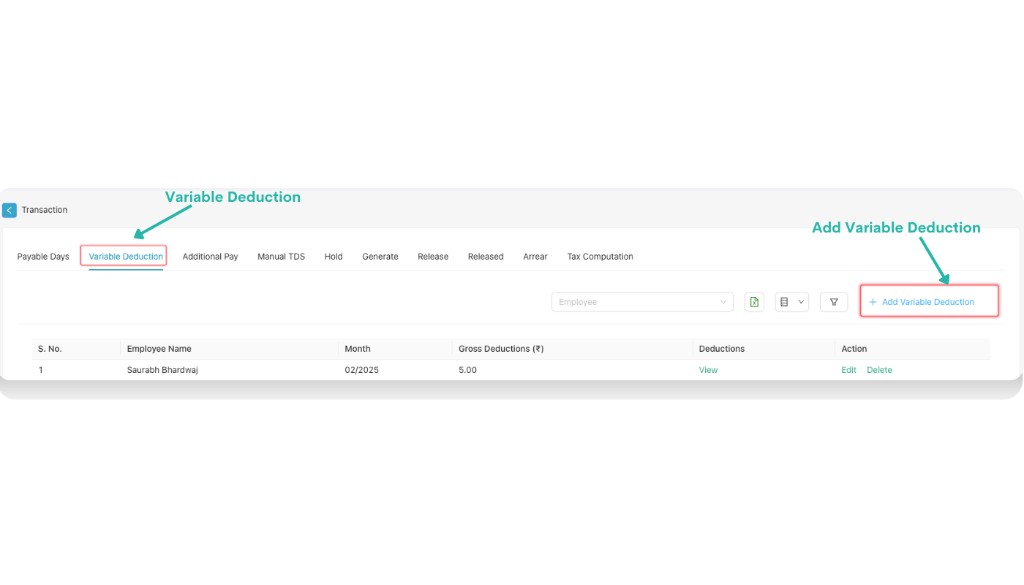
2. Variable Deduction
Use Variable Deduction to add month-wise deductions for an employee. You can choose the deduction type(s), enter values, and optionally tick In Payslip to show the deduction on the employee’s payslip.
Open Variable Deduction and click Add Variable Deduction
Click the Variable Deduction tab and then click + Add Variable Deduction.
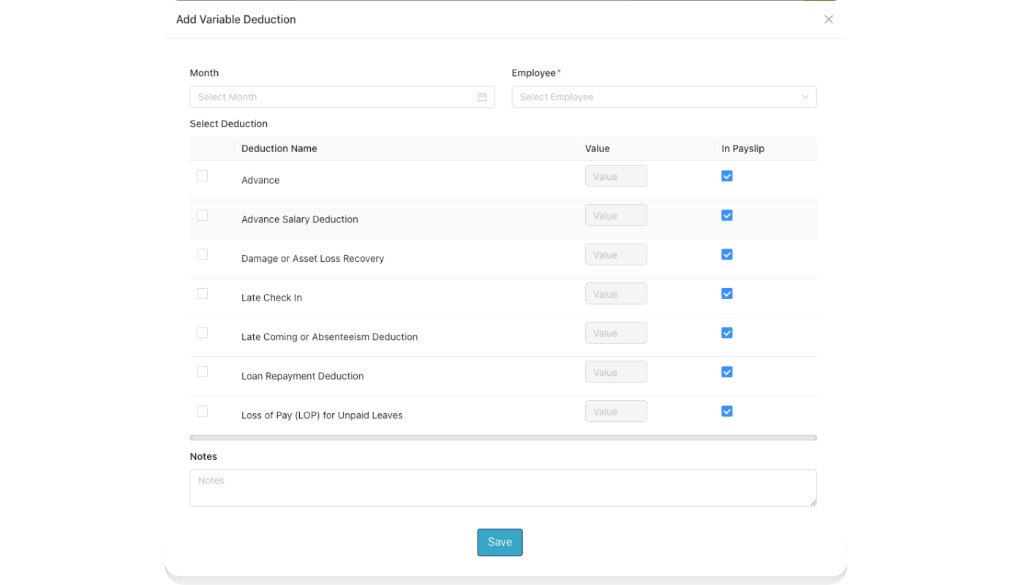
Fill the form details (Month, Employee, Select Deduction)
In the Add Variable Deduction popup, select the month and employee, then choose the deductions you want to apply.
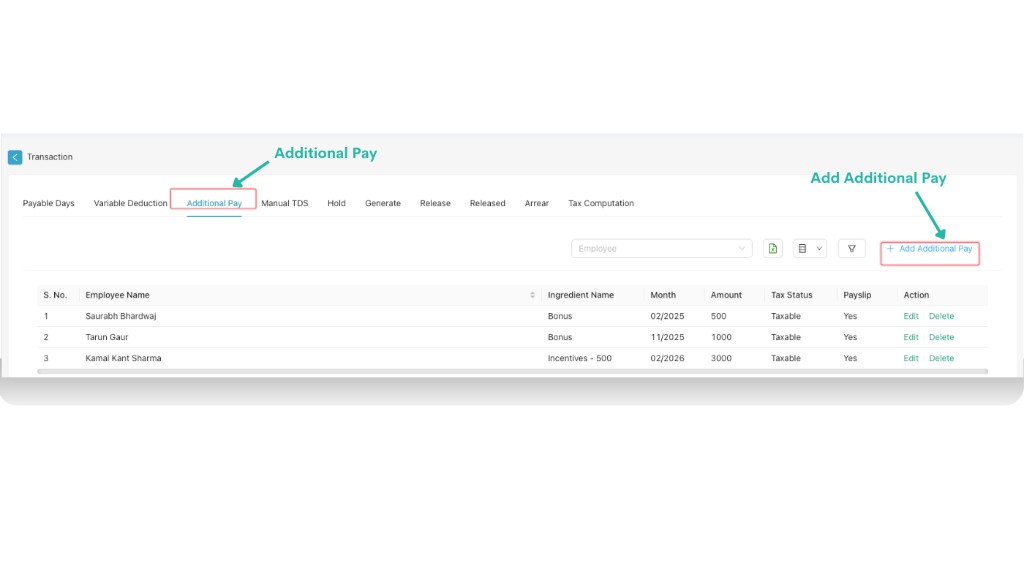
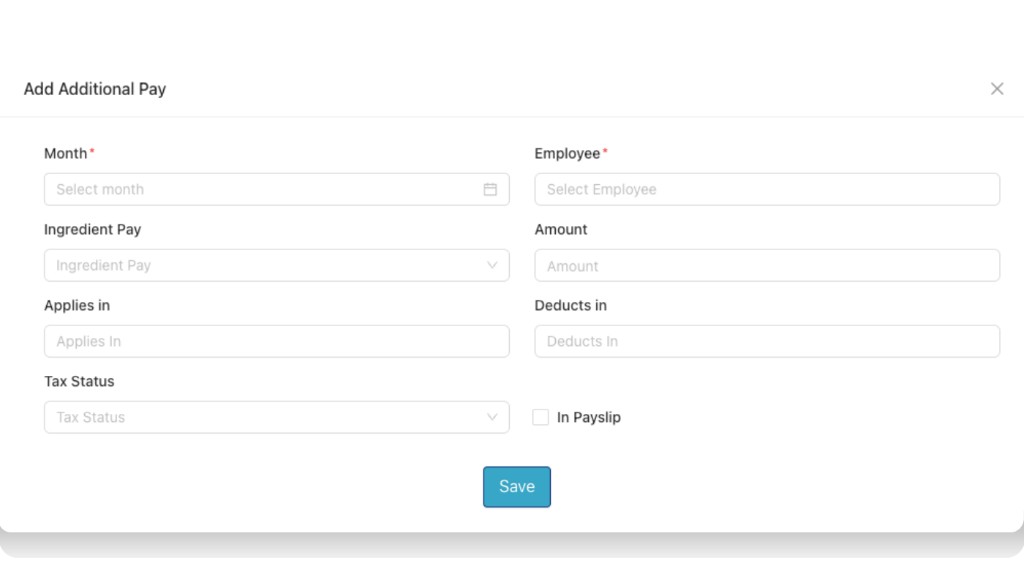
3. Additional Pay
Use Additional Pay to add extra payments (for example, bonus/incentives) for an employee for a selected month.
Open Additional Pay and click Add Additional Pay
Select the Additional Pay tab and click + Add Additional Pay.
Fill the Add Additional Pay form
Fill the details and then click Save.
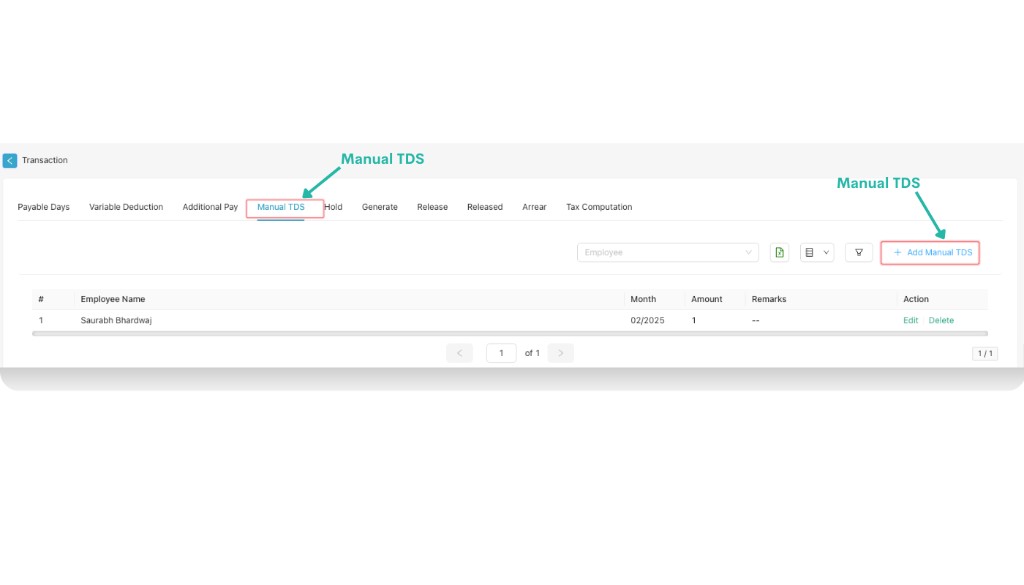
4. Manual TDS
Use Manual TDS to add an amount of TDS to be deducted manually for an employee for a selected month.
Open Manual TDS and click Add Manual TDS
Select the Manual TDS tab and click + Add Manual TDS.
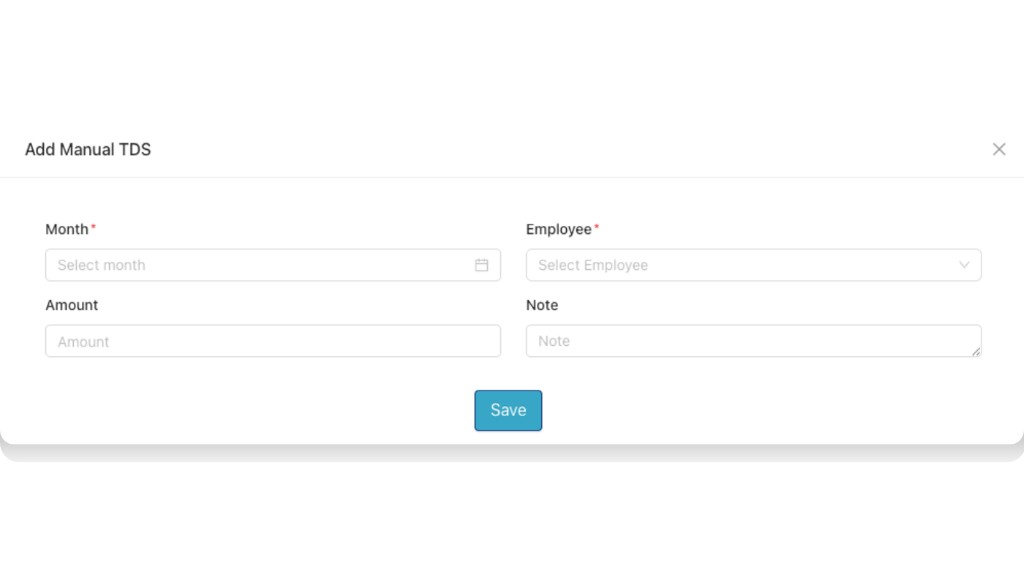
Fill the Add Manual TDS form and save
Fill the details and then click Save.
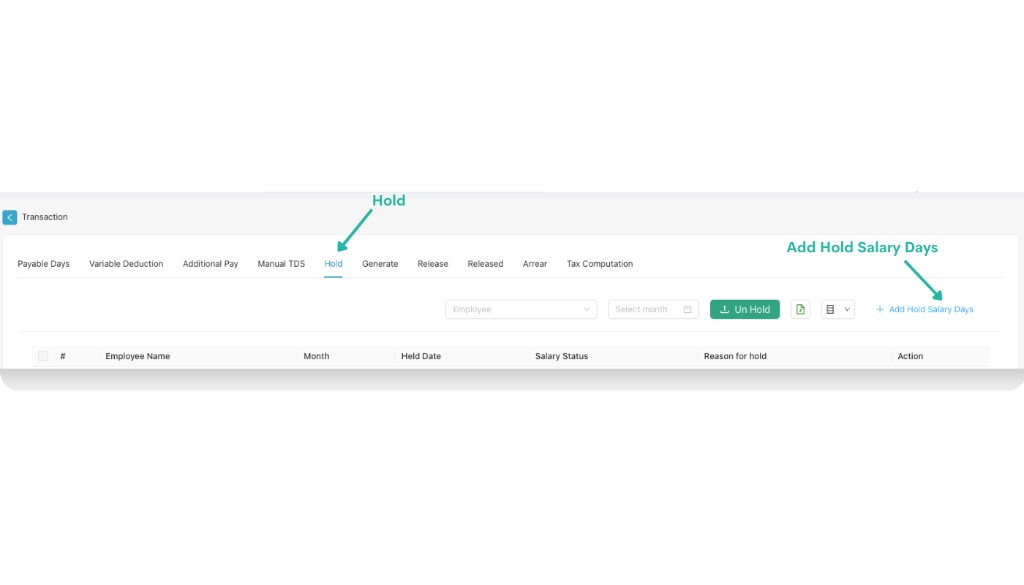
5. Hold
Use Hold to hold salary for an employee for a selected month range. You can also use Un Hold (if available) to release holds.
Open Hold and click Add Hold Salary Days
Select the Hold tab and click + Add Hold Salary Days.
Fill hold details and save
6. Generate
Use Generate to generate salary. You can generate in bulk from the top Generate button, or generate individually from the Generate action in each row.

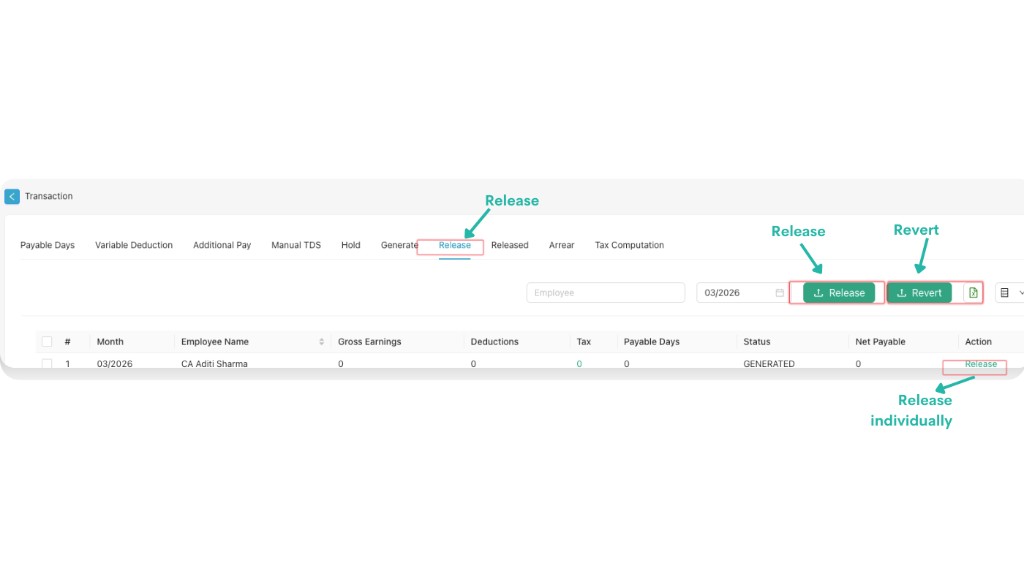
7. Release
Use Release to release the generated salary. You can release salary in bulk using the top Release button, or release individually from the Release action in each row.
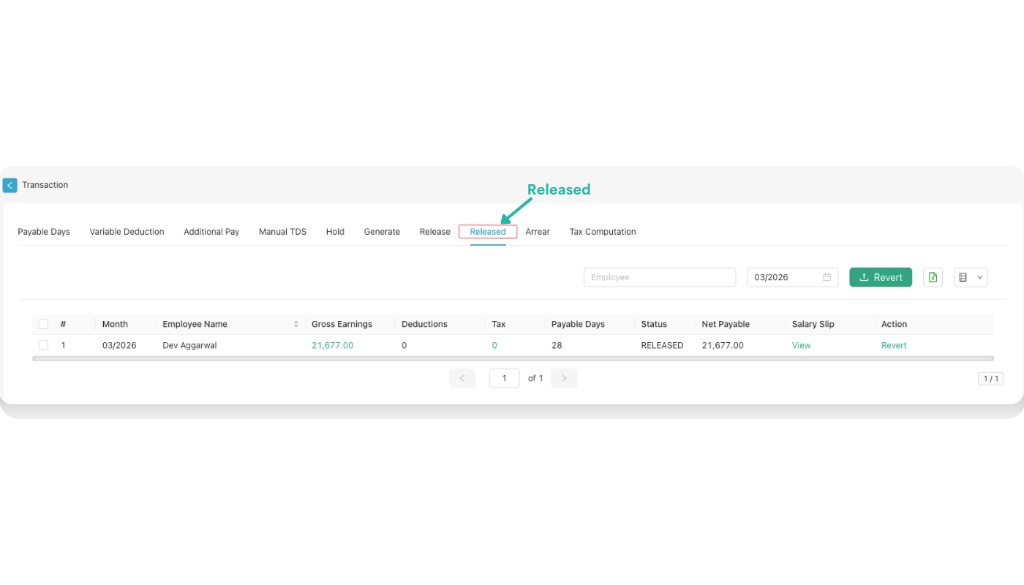
8. Released
Use Released to check salaries that have already been released. From here you can review released entries and (if available) view salary slip details.
Video Tutorial
Watch the Payroll walkthrough video. It includes the same Settings → Payroll navigation used to open the Transaction module.