Task on Mobile App — CA Cloud Desk
Access and manage tasks on the go using the CA Cloud Desk mobile application. Download the app, log in, open the Task module, create a task, fill in the details, and tap Submit.
Path
How to create a task on mobile
Download CA Cloud Desk from the Google Play Store and log in. Tap Task from the bottom navigation to open View Task. Tap the (+) Add Task button, fill in task details (name, dates, service, assignees, client, etc.), and tap Submit to create the task.
Getting Started
Download the app and log in to your account.
Step 1
- Open the Google Play Store on your mobile device
- Search for CA Cloud Desk and install the application
Step 2
- Open the CA Cloud Desk mobile app
- Enter your User ID and Password, then tap Log In
Open the Google Play Store on your mobile device. Search for CA Cloud Desk. Download and install the application.
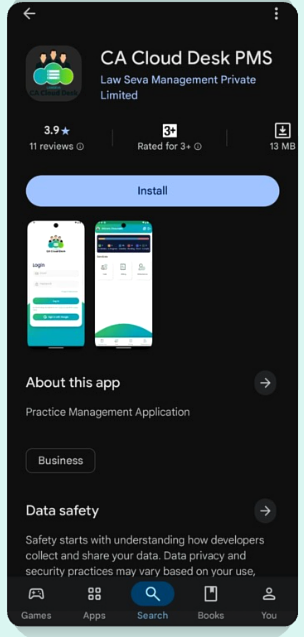
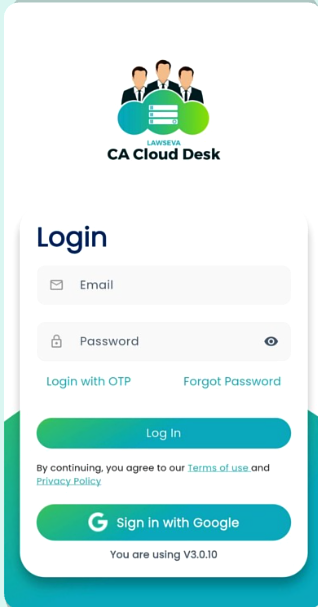
Open the CA Cloud Desk mobile app. Enter your User ID and Password. Tap Log In to access your account.
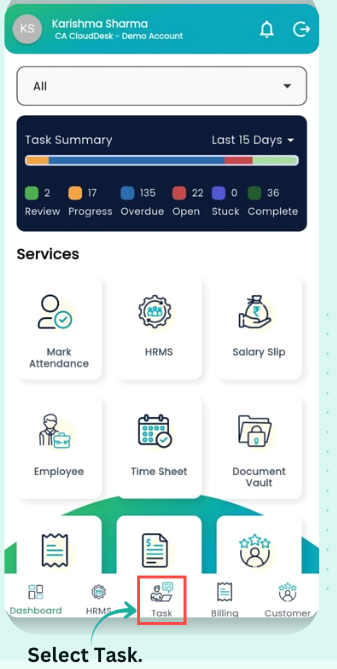
Navigate to Tasks
Open the Task module from the mobile dashboard.
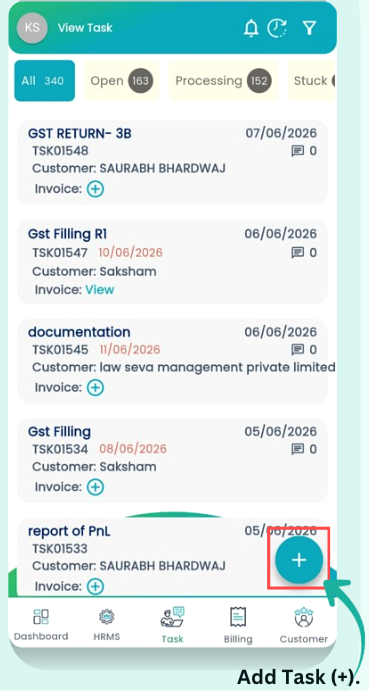
After logging in, you will be redirected to the Dashboard. Tap on the Task icon from the bottom navigation menu. The View Task screen will open, displaying all assigned tasks.
Create Task
Start creating a new task from the View Task screen.
On the View Task screen, tap the (+) Add Task button located at the bottom-right corner. The Create Task form will open.
Enter Task Details
Fill in the required and optional fields on the Create Task form.
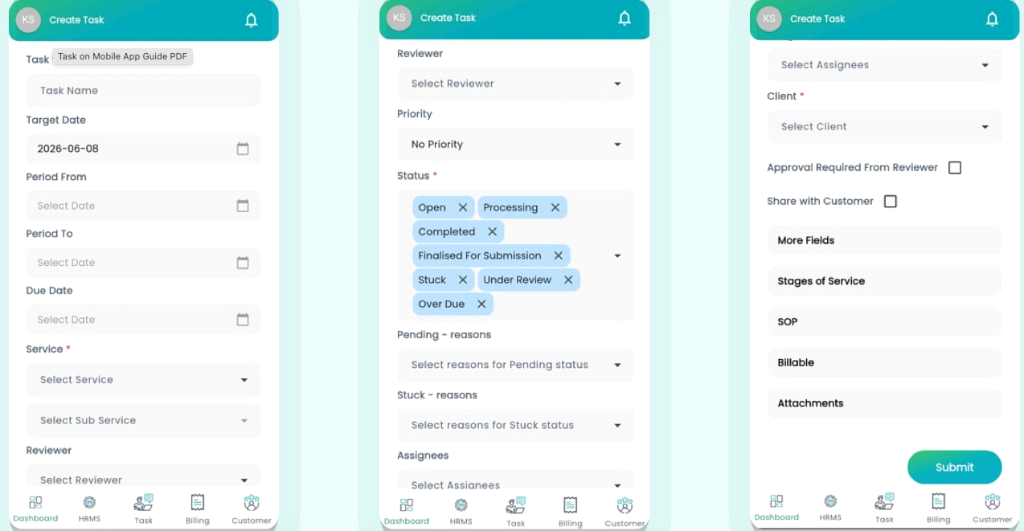
Fill in the required information on the Create Task form — task name, dates, service, reviewer, priority, status, assignees, and client.
Submit Task
Save the task after entering all required details.
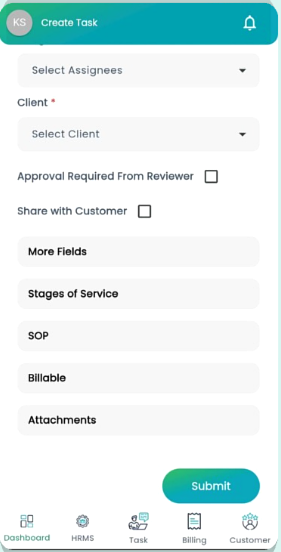
After entering all required details, tap the Submit button to create the task successfully. The task will then be available in the Task module for tracking and management.
Task created successfully
Your task has been created on the mobile app and is now available in the View Task screen for tracking and management.