Custom Fields in Task — CA Cloud Desk
Add custom fields to tasks to capture practice-specific information. Open Settings, select Custom Field, choose Task, configure the field, and click Save Changes to see Custom Fields Updated Successfully.
Path
How to add a custom field to tasks
From the CA Cloud Desk dashboard, select Settings. Open Settings and select Custom Field. On the Add Custom Fields screen, select Task, click the Plus icon to add a field, configure the field type and options, then click Save Changes.
Getting Started
Log in and open Custom Field settings.
Step 1
- Log in to CA Cloud Desk
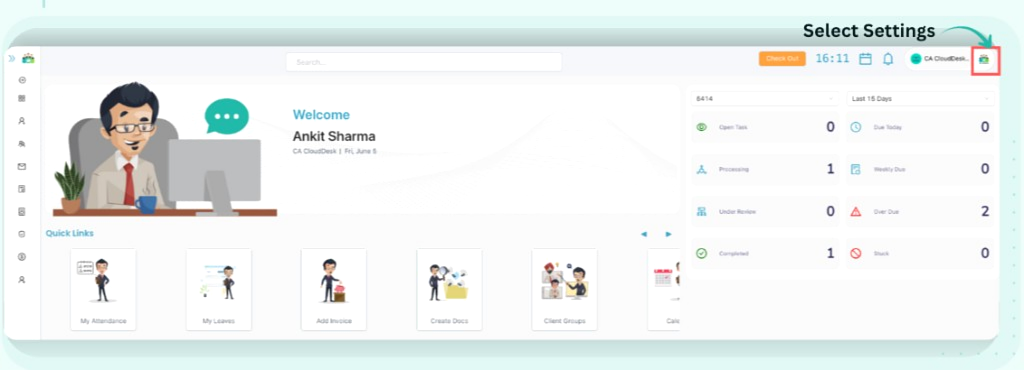
- From the CA Cloud Desk dashboard, select Settings
Step 2
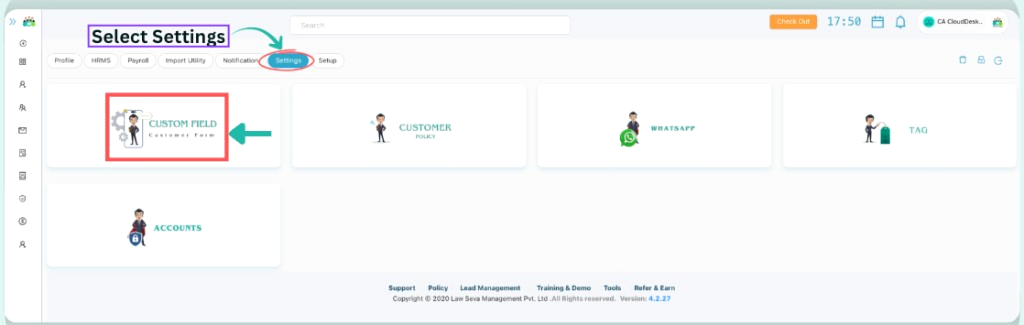
- Select the Settings tab
- Click Custom Field (CUSTOM FIELD Customer Form tile)
Log in to CA Cloud Desk. From the CA Cloud Desk dashboard, select Settings.
Select the Settings tab and click Custom Field (CUSTOM FIELD Customer Form).
Add Custom Field
Select Task and configure your custom field.
On the Add Custom Fields screen, select the Task option from the dropdown.
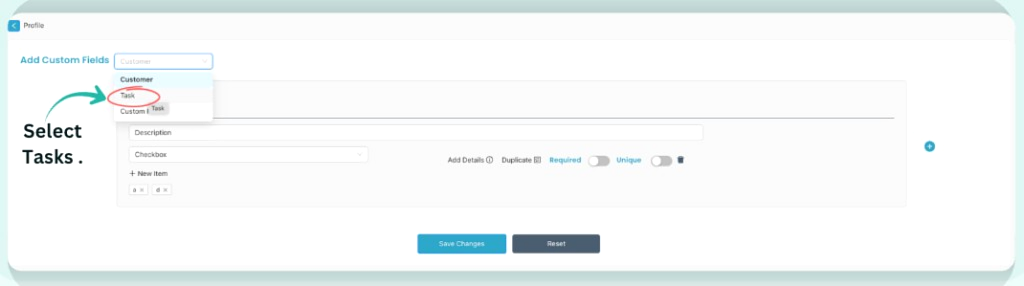
Click the Plus icon to add a new custom field. Choose the field type (Dropdown, Text, Checkbox, etc.) and configure label, description, and settings.
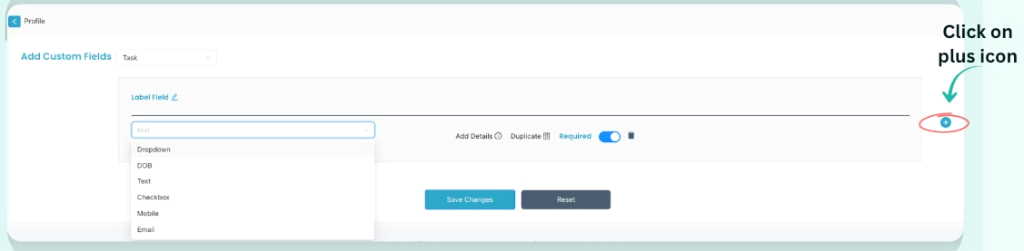
Dropdown or Checkbox fields must have at least one option. Click New Item to add options before saving.
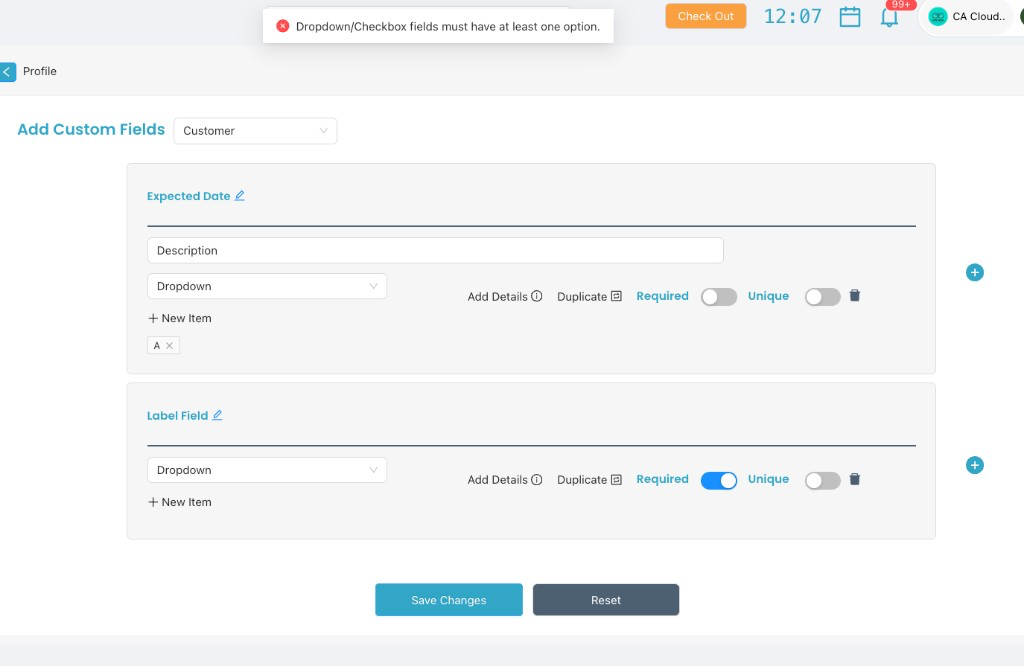
Save Changes
Save your custom field configuration.
Click Save Changes to add the custom field. Once saved, a Custom Fields Updated Successfully pop-up will be shown.
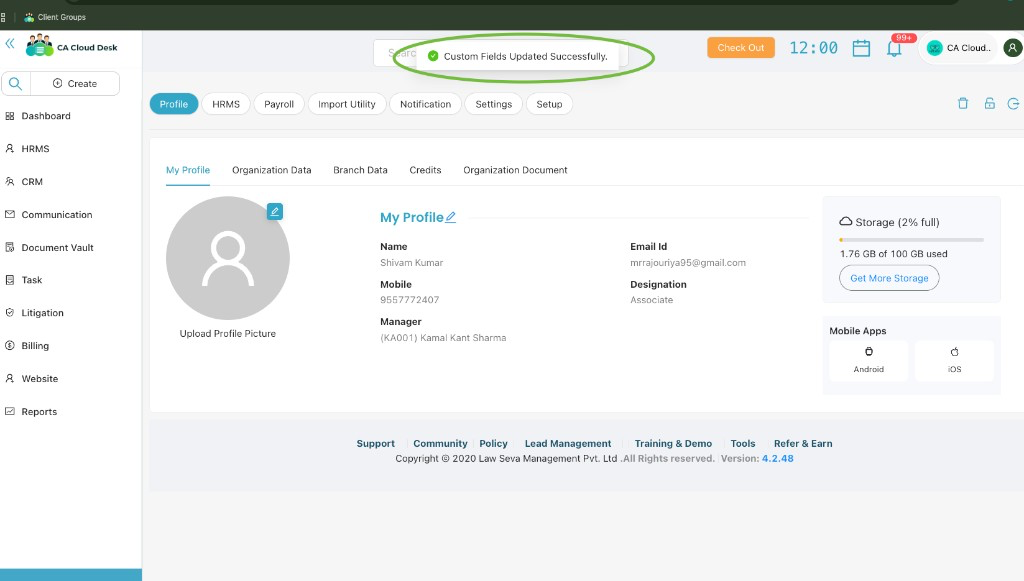
Custom Fields Updated Successfully
Your custom field has been added for tasks. The new field will appear on task forms and can be used to capture practice-specific information and requirements.